
In this tutorial, you will learn how to integrate an S3 bucket with an S3 client. All you have to do is make a note of the required details available on the platform and use them to configure your S3 client.
An S3 bucket is a storage system designed for saving large volumes of applicationdata (such as archives, backups, IoT, AI, DevOps, etc.) using a Web API. This tutorial will explain how to integrate/connect a bucket with these applications in a standard way through an API.
How to integrate a bucket with an S3 client?
Before you begin:
To successfully complete this tutorial, you will need:
- To be registered as a Jotelulu user and have signed in using your username and password.
- To have previously signed up to an S3 Bucket subscription.
- To have an application that you want to connect to the bucket using a Web API.
Step 1. Finding the necessary details for your S3 bucket
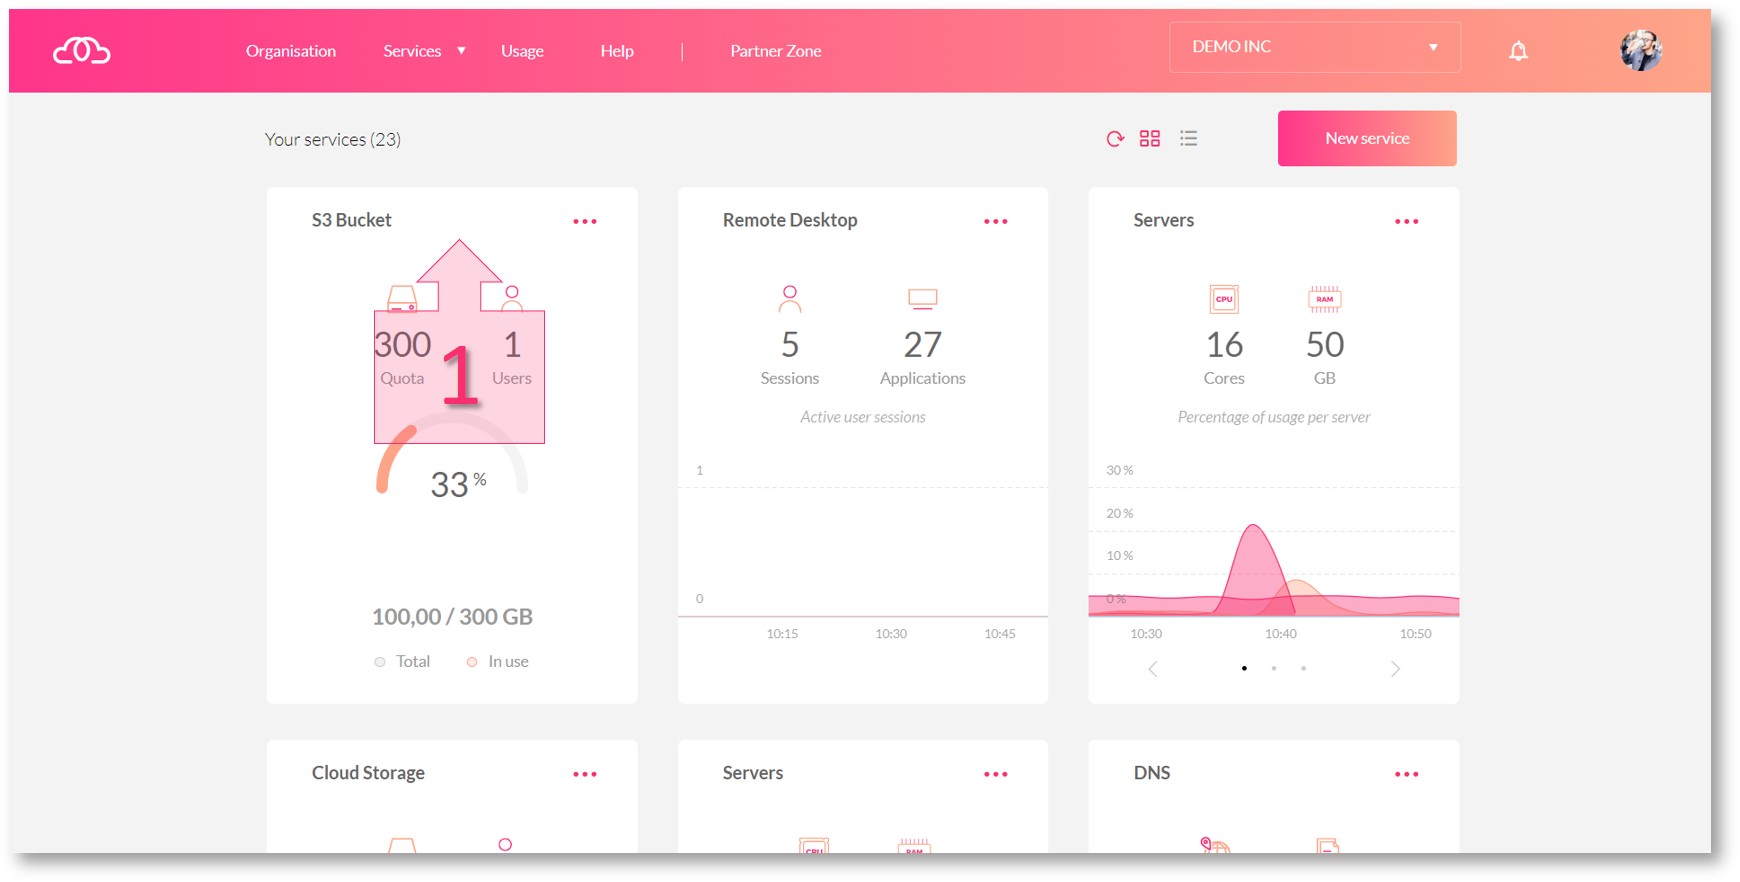
On the main dashboard, click on the top of the S3 Bucket card (1).
Once you have opened the summary section of your S3 Bucket subscription, you will need to make a note of the details you need to connect the service. Generally, integration using a Web API requires the following:
- Access to the Bucket (URL) / Server.
- A path corresponding to the name of the bucket
- An access key
- A secret key
The name of the bucket can be found in the top left of the summary page (2). In this example, the bucket is named “demo00-bucket1”. The access URL for the bucket is located in the bottom left (3). In this example, it is “s3.jotelulu.com”.
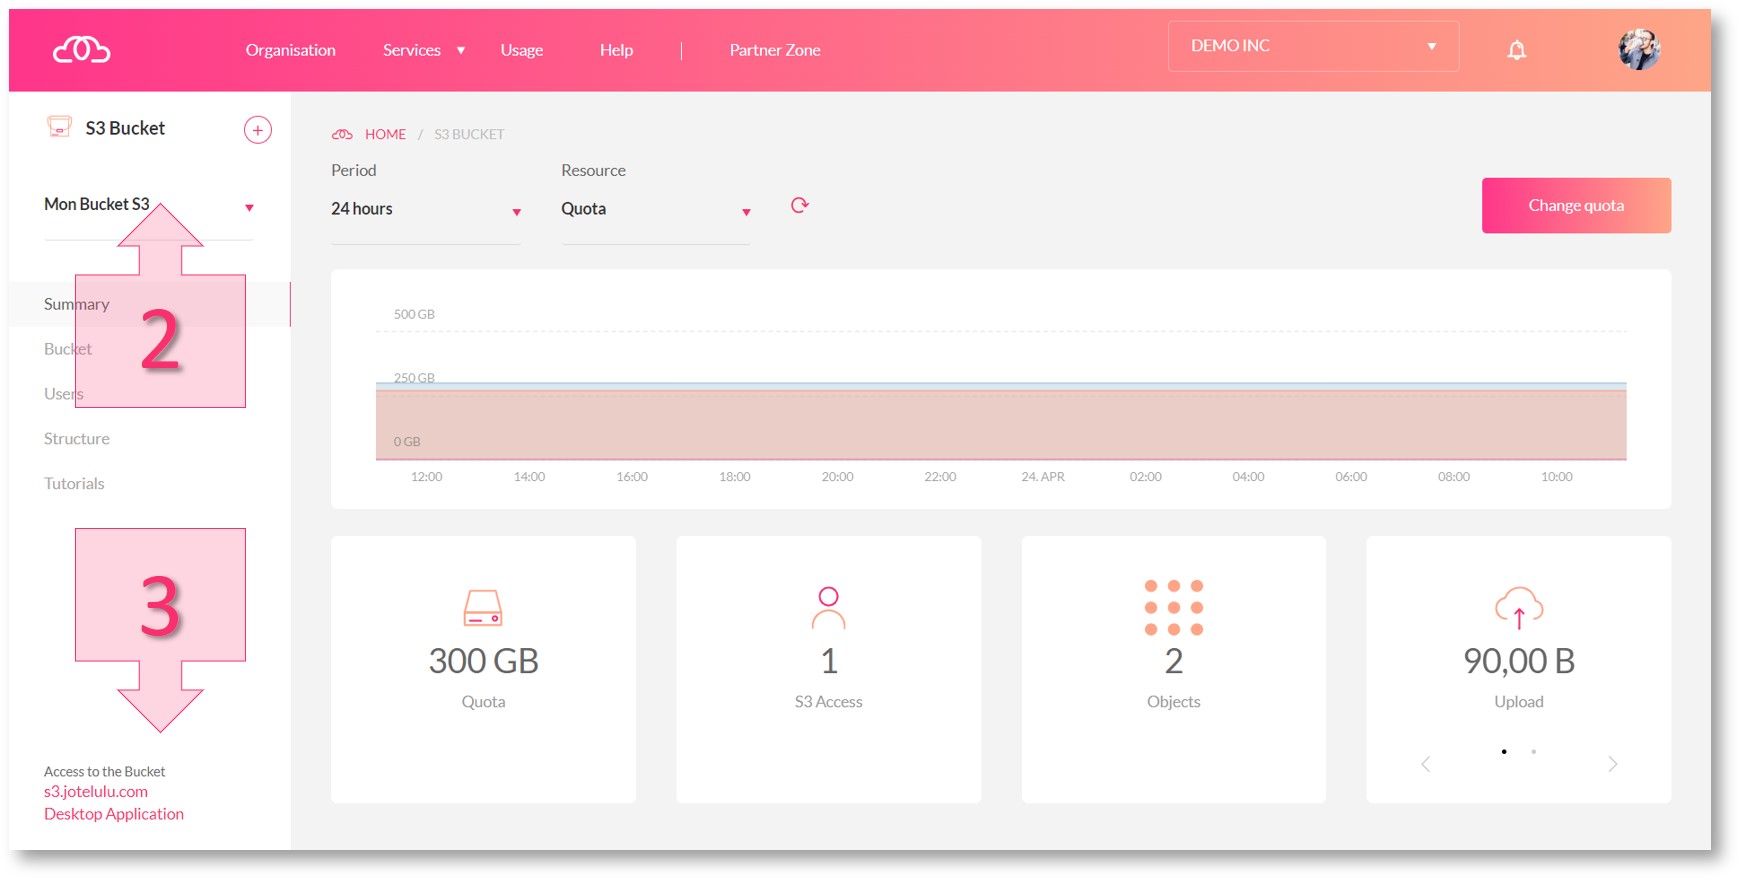
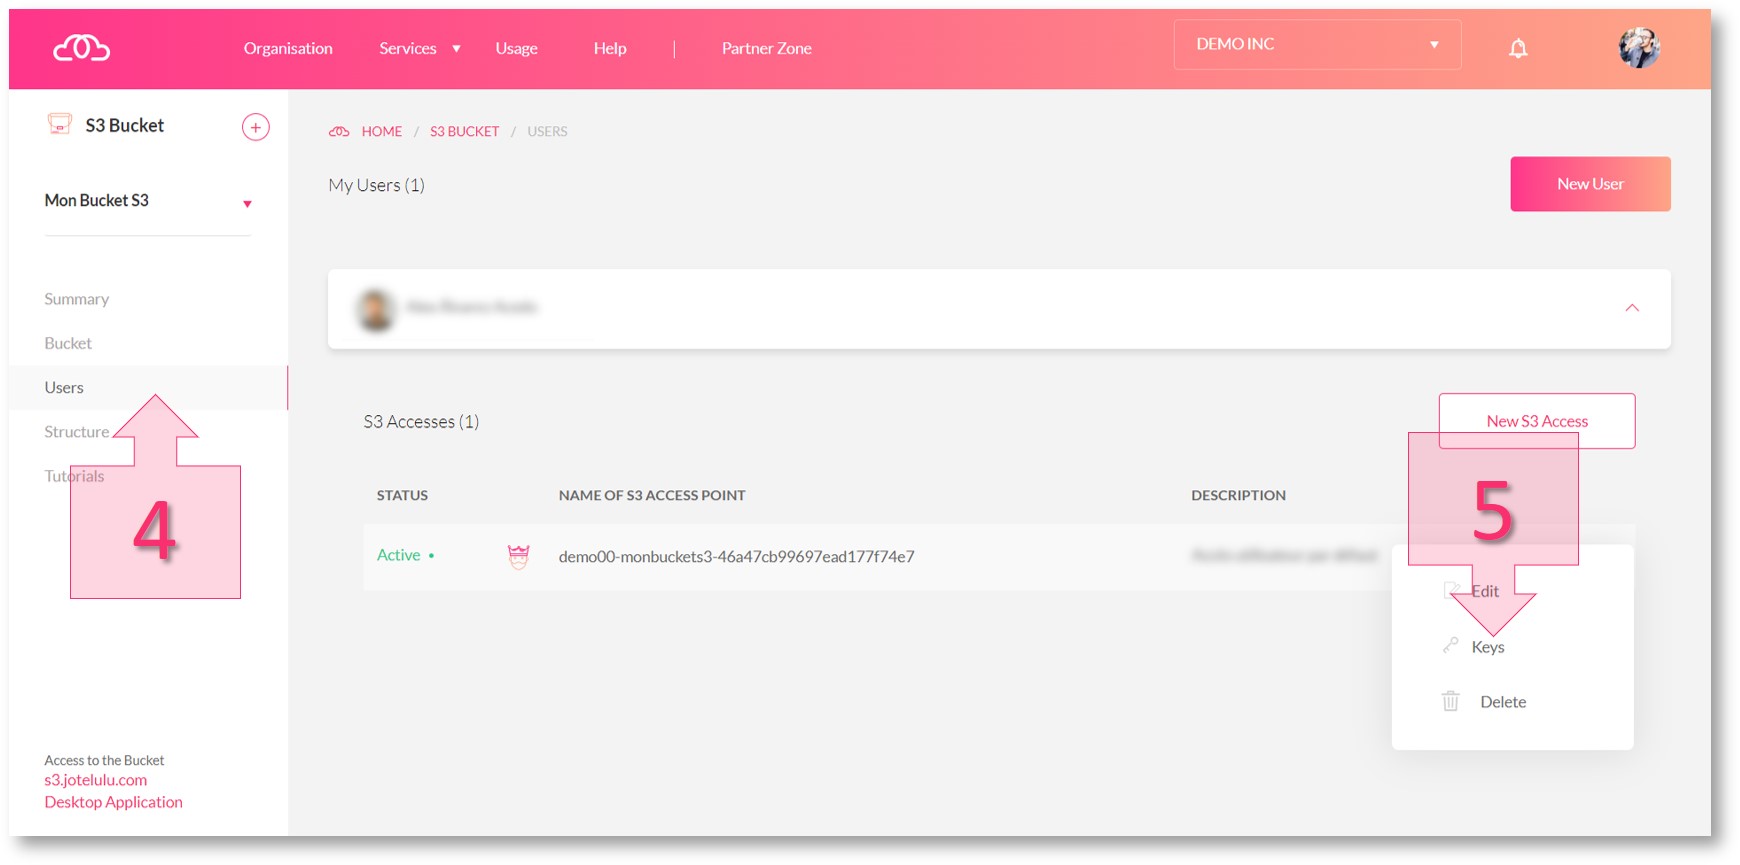
To locate the access key and secret key, click on the Users section in the left-hand menu (4). Then, find the bucket in the list that appears, click on the three dots to the right and click on Keys (5).
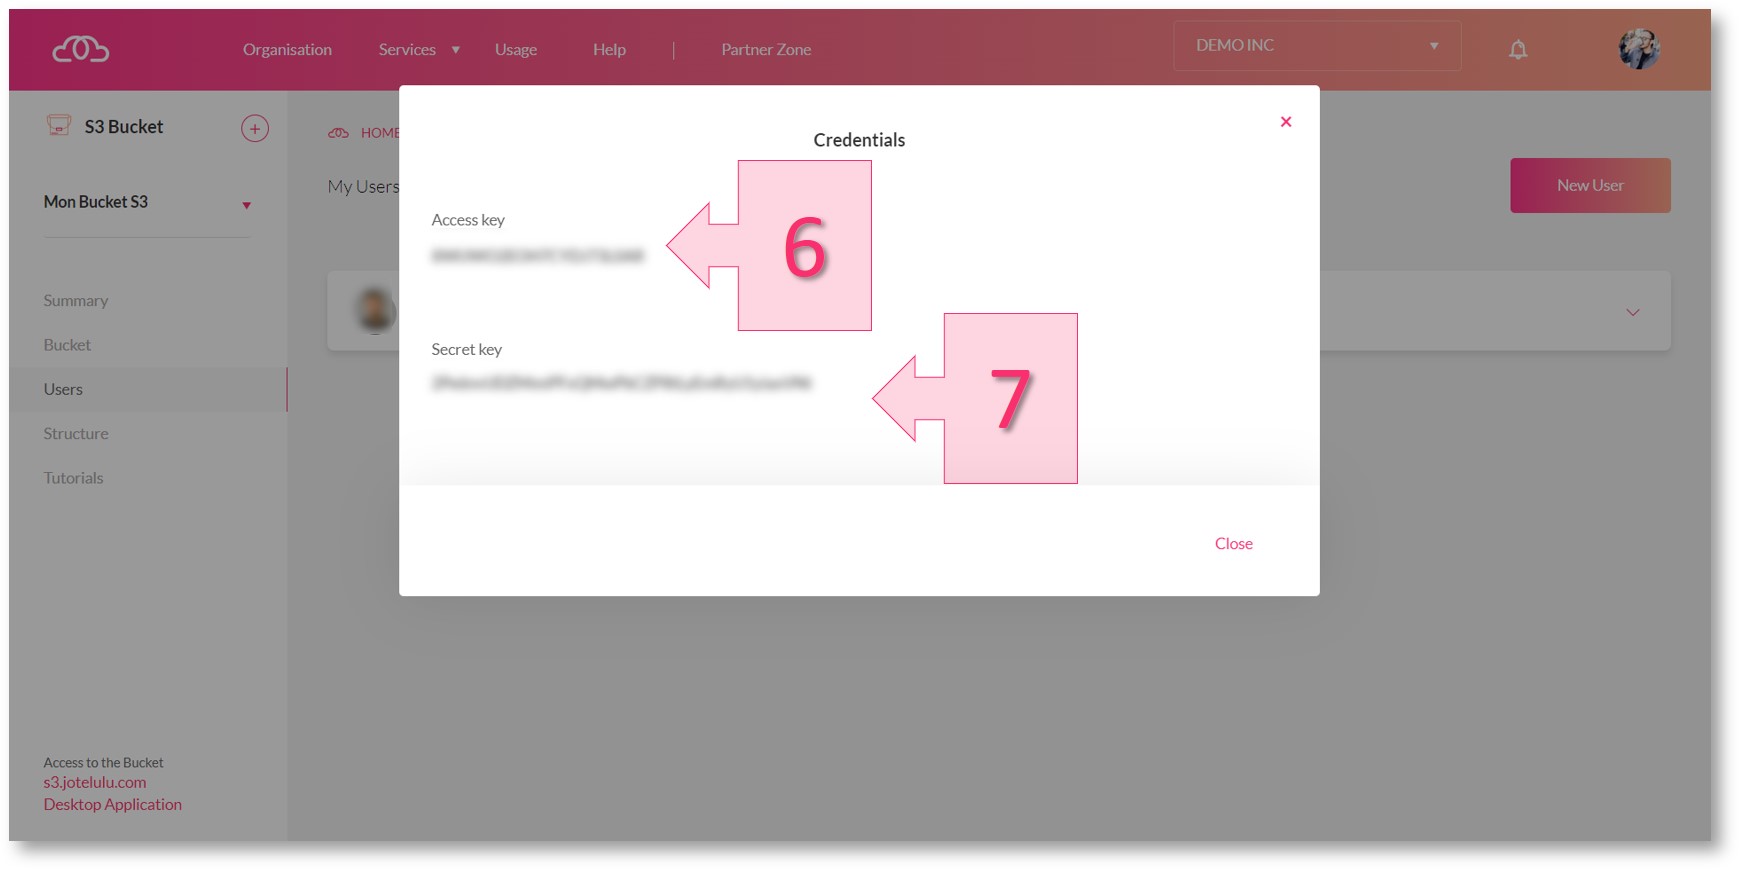
A window will then appear displaying the access key (6) and the secret key (7). Take note of these keys for later use.
Step 2. Configure the S3 client to connect to your bucket.
When configuring an S3 client (e.g. CyberDuck), it is important to differentiate between two types of users. There is the OWNER and, then there are the rest of the users who have access.
The OWNER has direct access and will not need to configure anything. They automatically have access. The remaining users, however, will need to fill in the Path field as they do not have direct access and will not be redirected.
Once you have made a note of all the necessary details, you can proceed to configure your S3 client.
- Example using CyberDuck

Step 2. Example of integrating an S3 Bucket with CyberDuck
- Example using S3 Browser

Step 2. Example of integrating an S3 Bucket with S3 Browser
Summary and next steps:
To integrate a bucket with an S3 client, you simply need to make a note of the required details available on the platform and then configure your S3 client accordingly.
Now that you have completed this tutorial, you may be interested to learn more about basic S3 bucket concepts. If so, have a look at the tutorials below to find out more:
Alternatively, you may simply want to learn more about other functions available on the platform. In which case, this tutorial may be of interest to you:
- How to Set Permissions/Access to Your S3 Bucket.
We hope that this tutorial has been useful for you. If you still have questions or wish to talk about any technical matters, you can write to us at platform@jotelulu.com and we will be happy to help.