In this article, you’ll learn a whole array of PowerShell commands for Hyper-V to save you time when managing your virtualised infrastructure.
Hyper-V is one of the most widely used hypervisors in the world, thanks in large part to its ease of use, making the transition from physical to virtual machines much smoother. But as well as this, it also offers great stability, scalability and licence benefits when compared with other virtualisation solutions.
Today, we’re going to show you how you can use some basic PowerShell commands to speed up tasks when managing your virtual machines. In particular, we’ll look at the following:
- How to show a list of Hyper-V commands
- How to update the PowerShell help files
- How to use the PowerShell help files
- How to list all the virtual machines (VMs) available on the server
- How to start and stop a VM.
For any other Hyper-V-related tasks, you can use the graphic interface… but just for the time being. We promise that we’ll be back with more commands in a future article!
PowerShell Commands for Hyper-V
Show available commands for Hyper-V
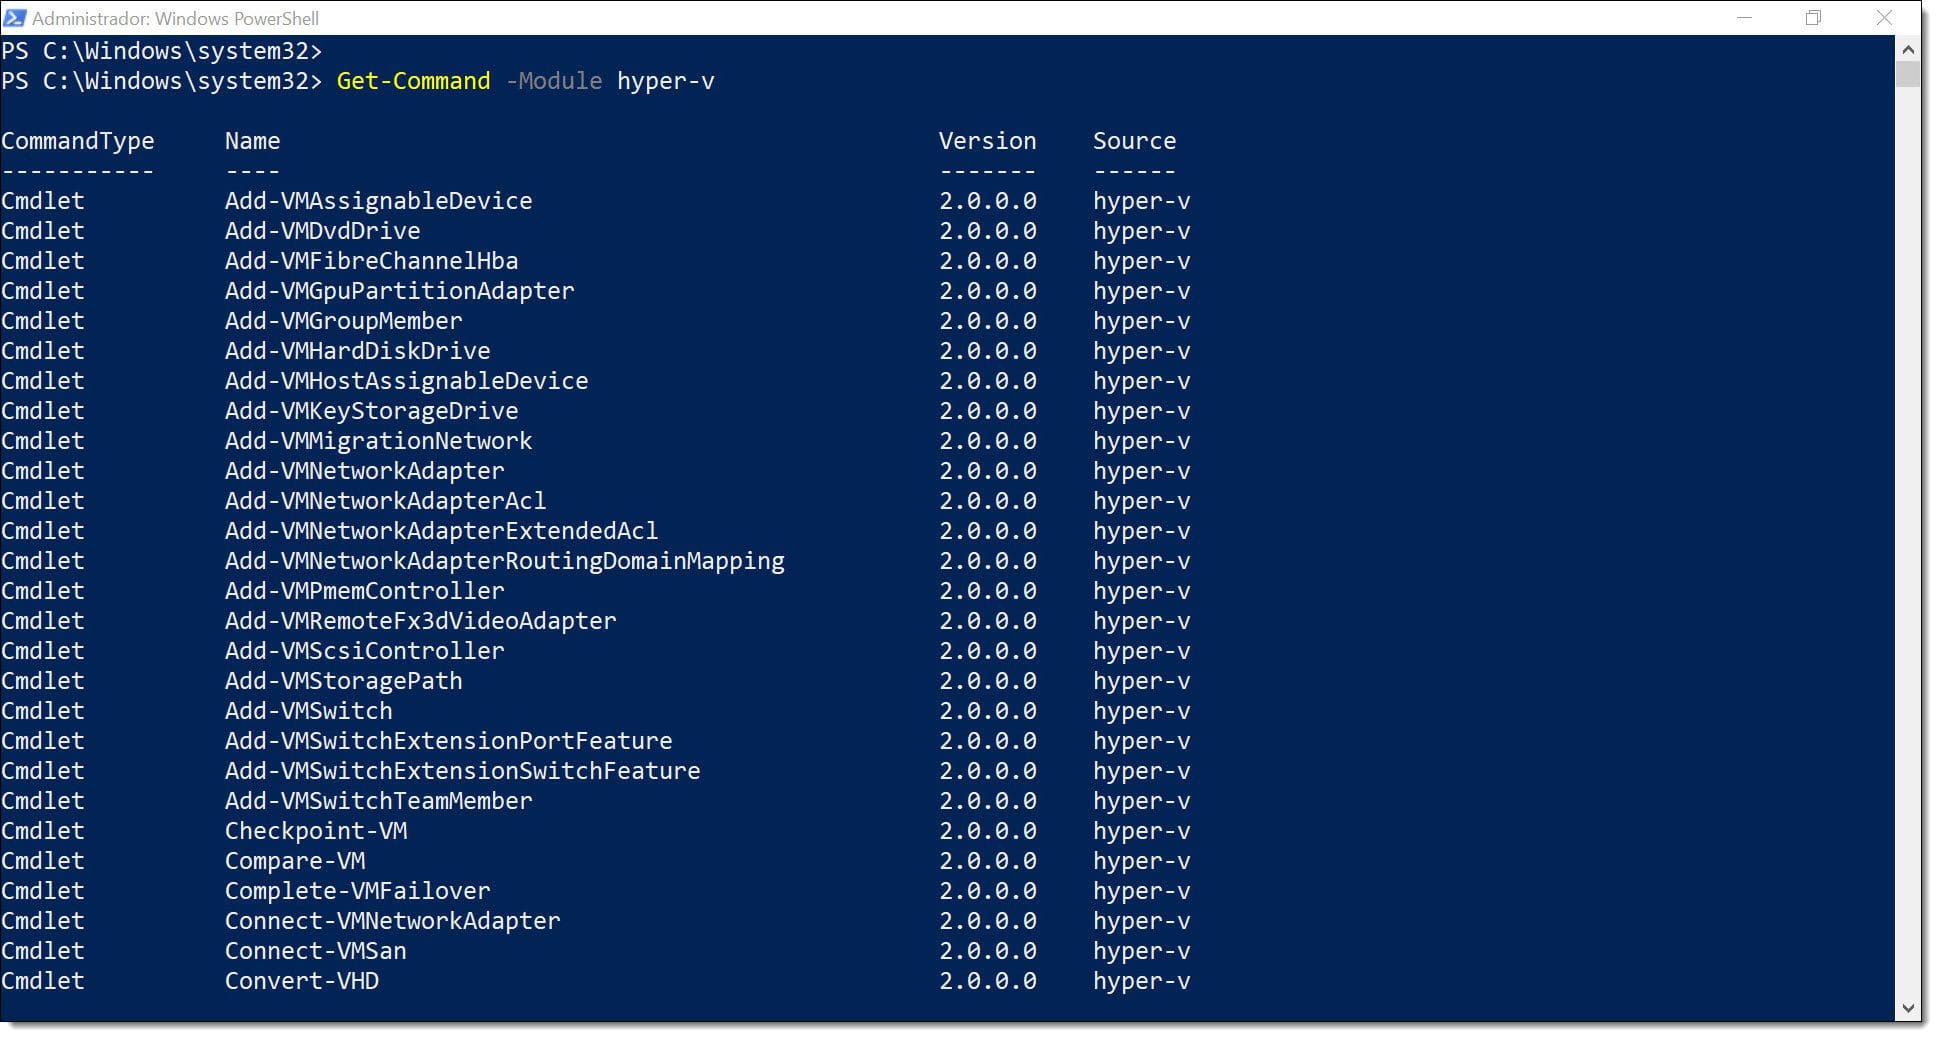
First of all, it’s a good idea to know what commands (also known as cmdlets) for Hyper-V are available on your device. To do this, run the command “Get-Command -Module hyper-v” and you will be shown a list of cmdlets you can use.
# Get-Command -Module hyper-v
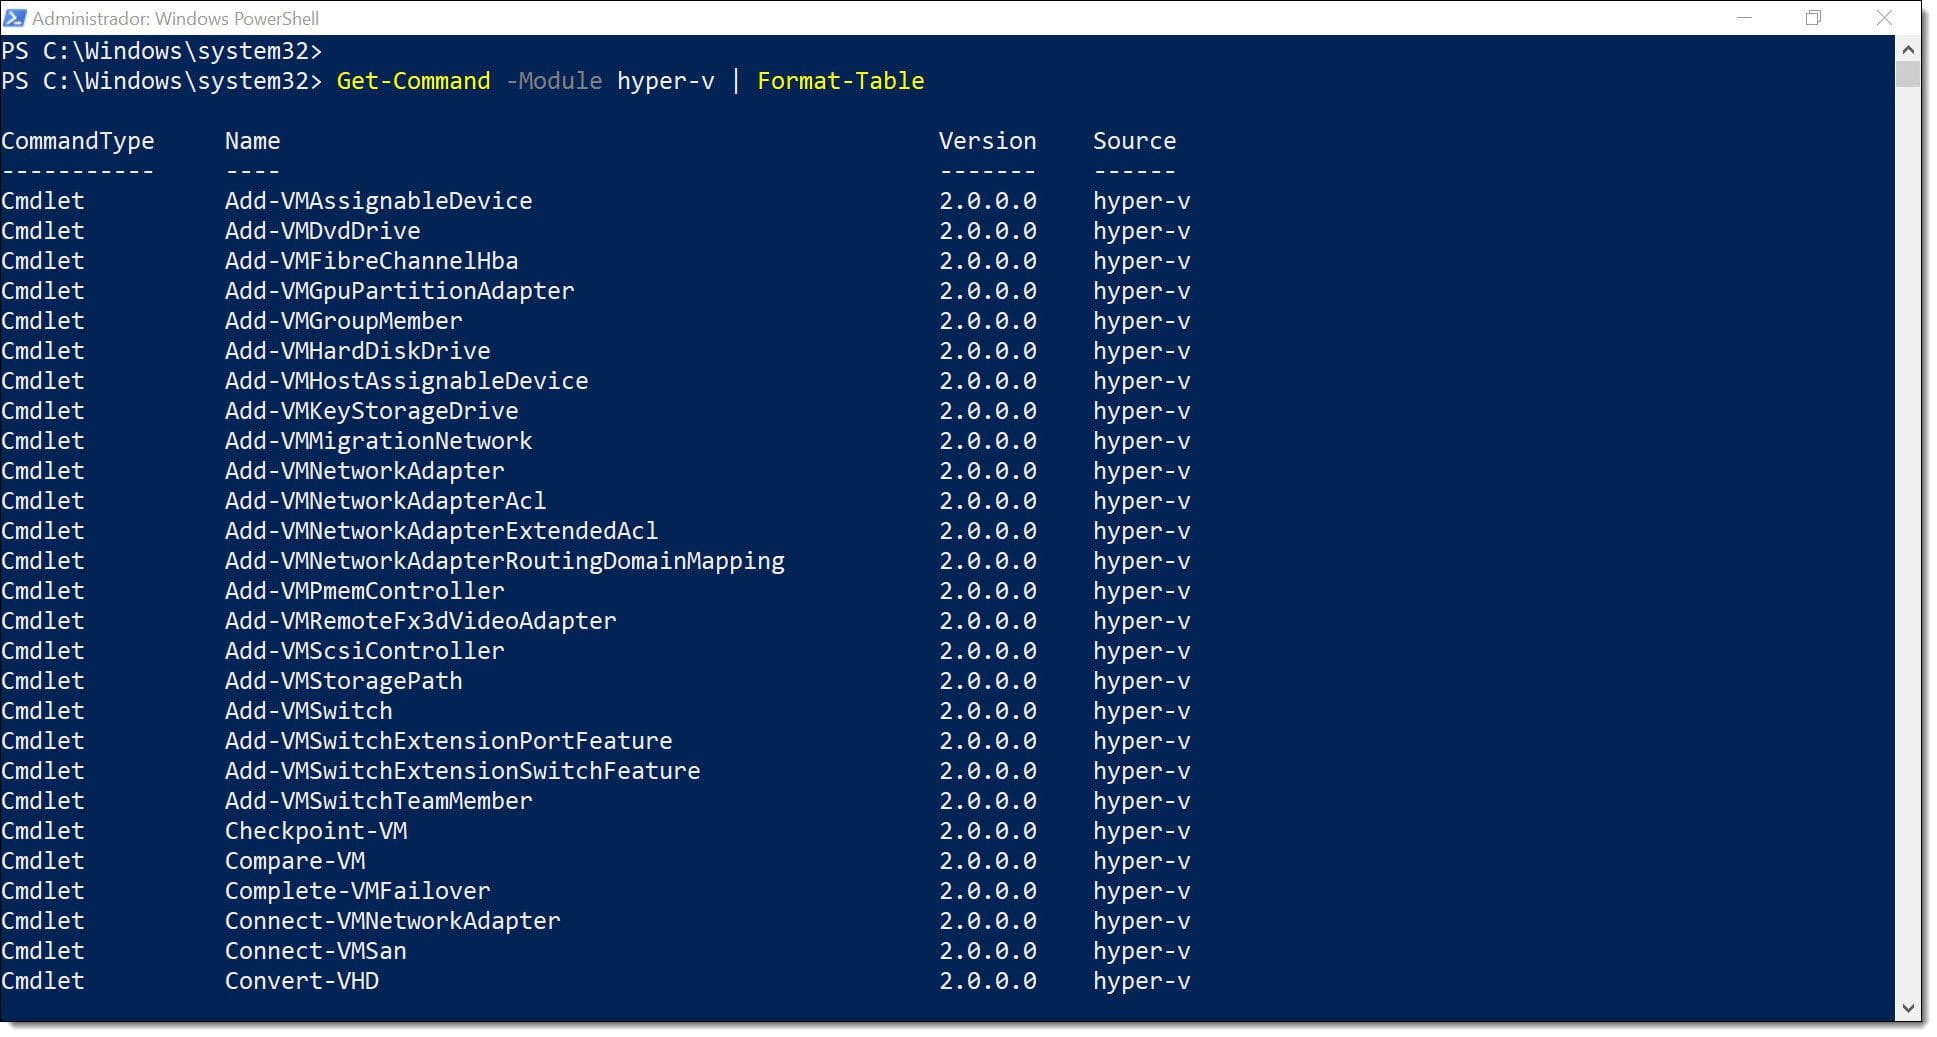
You can also modify the cmdlet so that the output is formatted. The following command shows the results in a table format.
# Get-Command -Module hyper-v | Format-Table
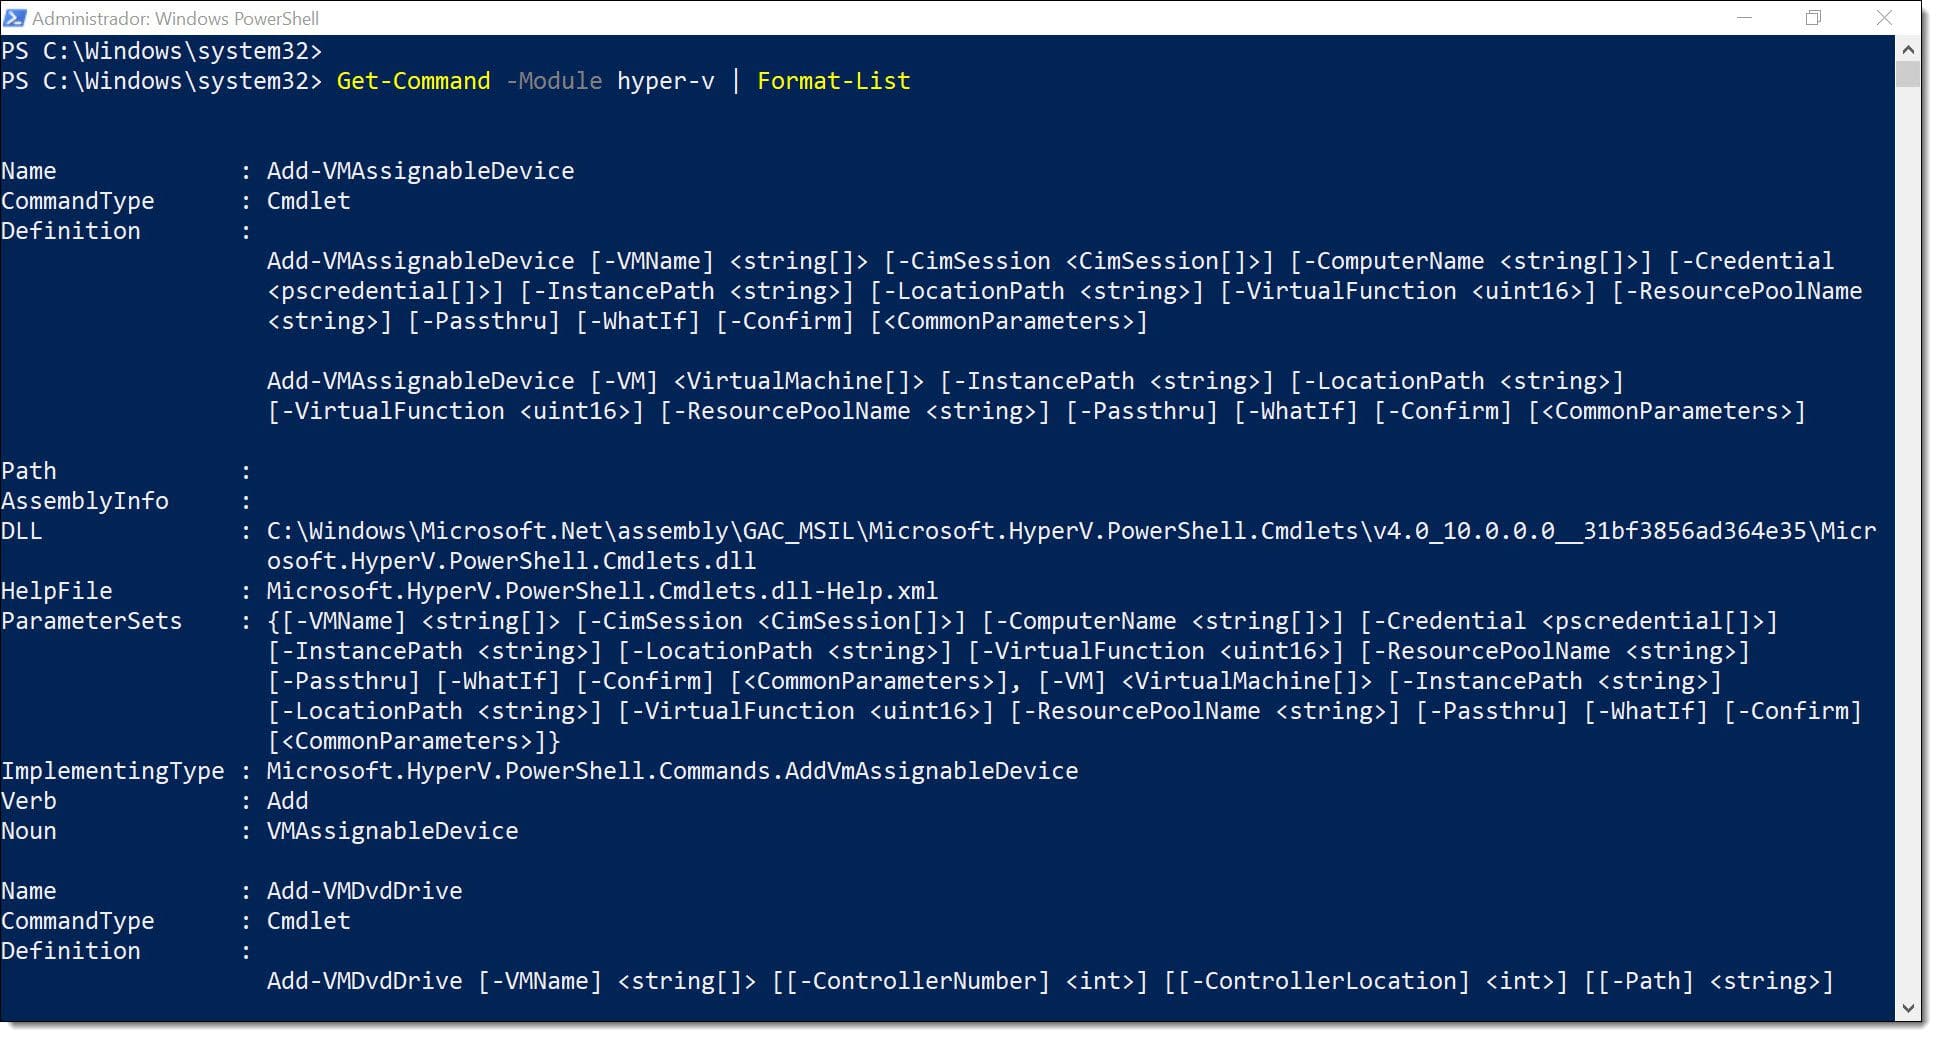
You can also choose to display them in a list format:
# Get-Command -Module hyper-v | Format-List
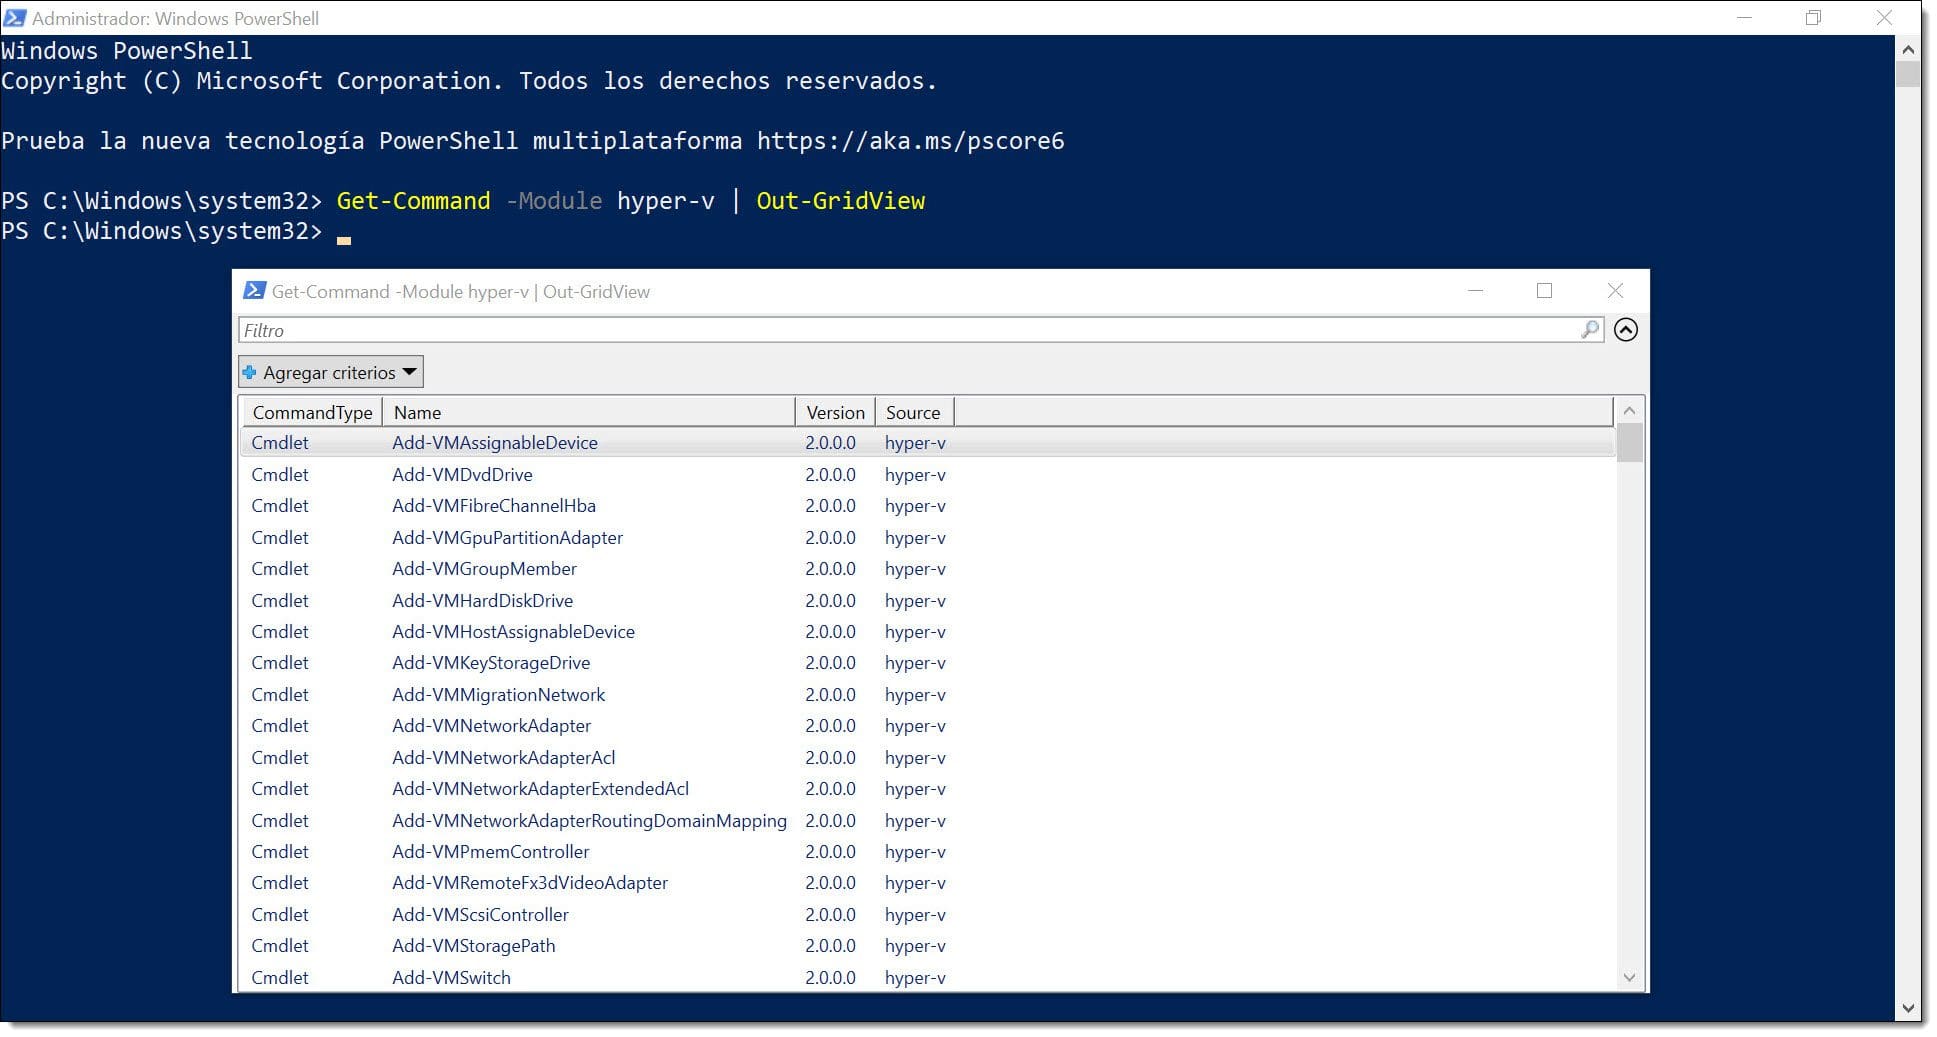
You can even display the results in a separate window:
# Get-Command -Module hyper-v | Out-GridView
Update the PowerShell help files
Personally, I think that one of the first things you should do when working with any application, system or service is to update everything that can possibly be updated, and that includes the help files.
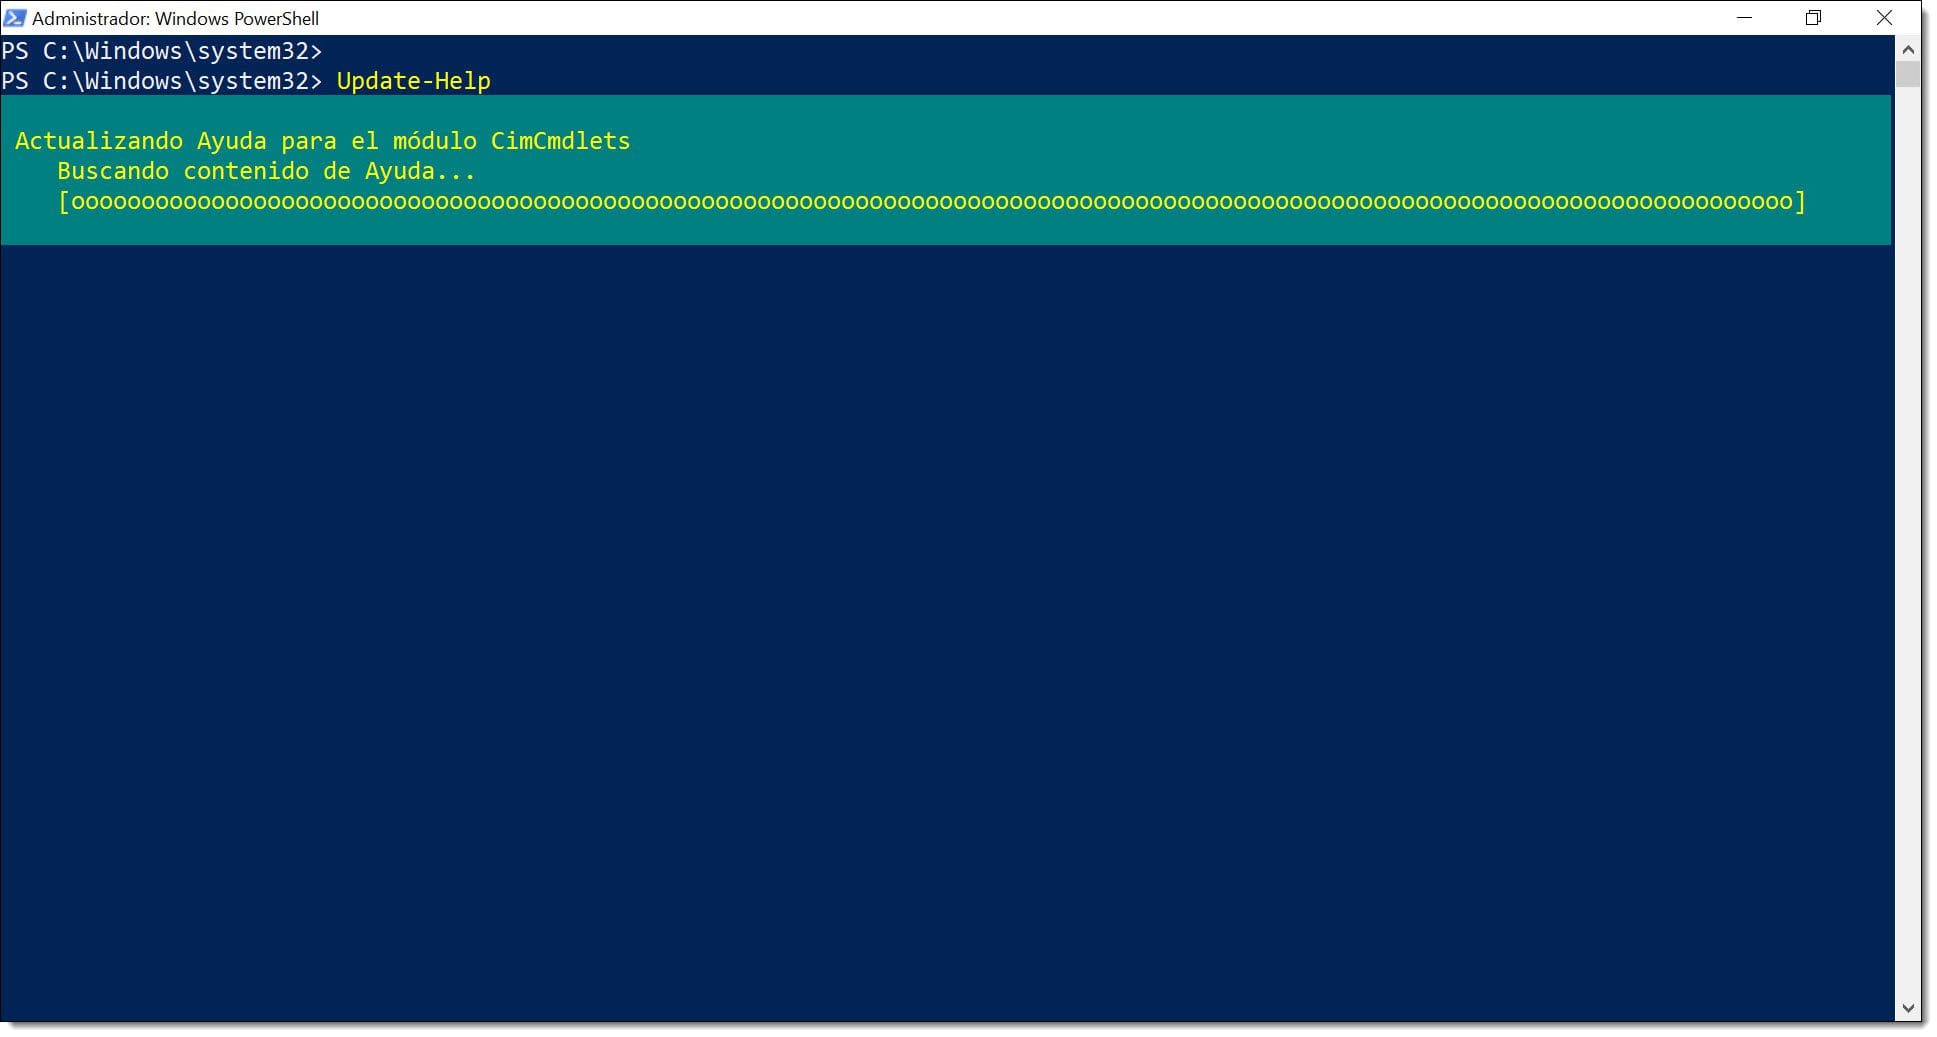
In the case of PowerShell, this can be done with just one simple command, “Update-Help”:
# Update-Help
Use the PowerShell help files
Next, you need to know how to load the help files for these commands.
You can do this by entering “Get-Help <PowerShell Command>”, swapping <PowerShell Command>” for the command that you’re interested in.
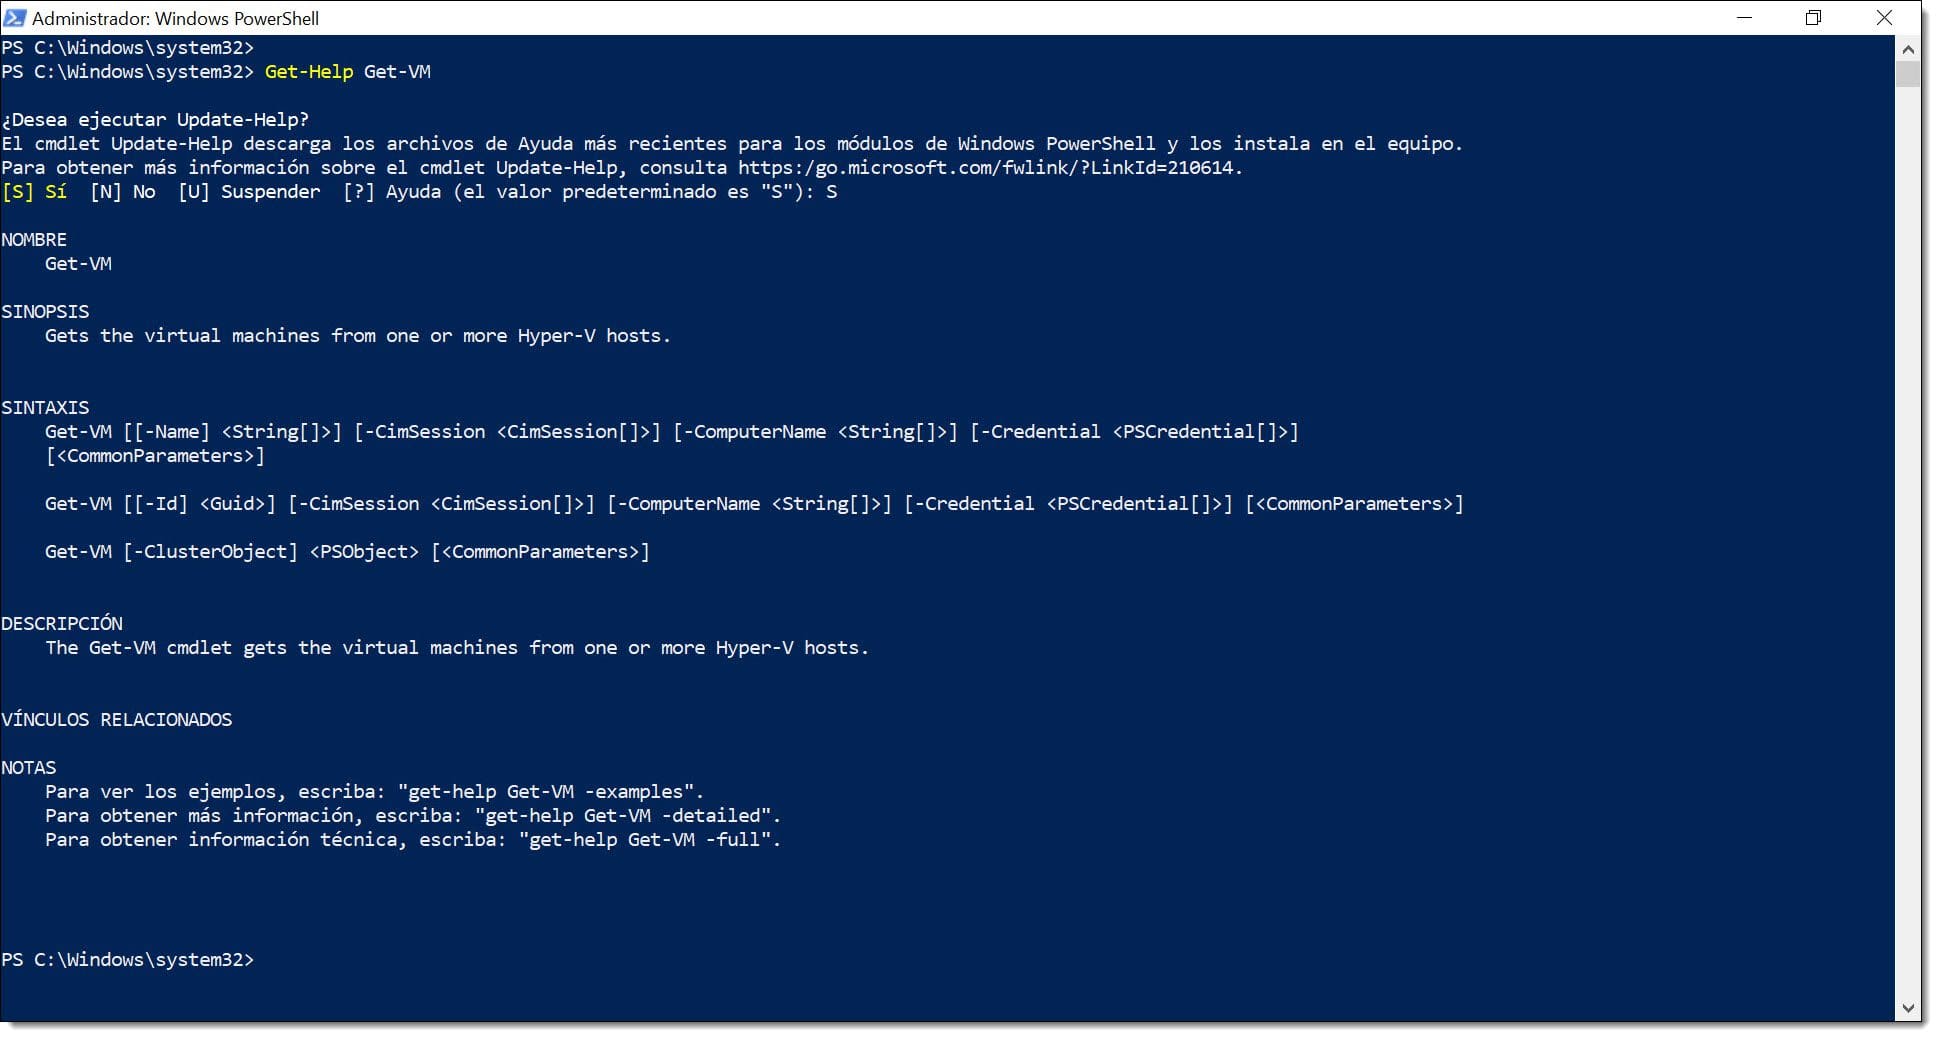
For example, to find out more about the “Get-VM” command, type the following:
# Get-Help Get-VM
NOTE: If you haven’t updated the help files first, you might be prompted to do so.
List the Available Virtual Machines on your Hyper-V Server
Next, we’re going to see how you can list all the available VMs on your Hyper-V server.
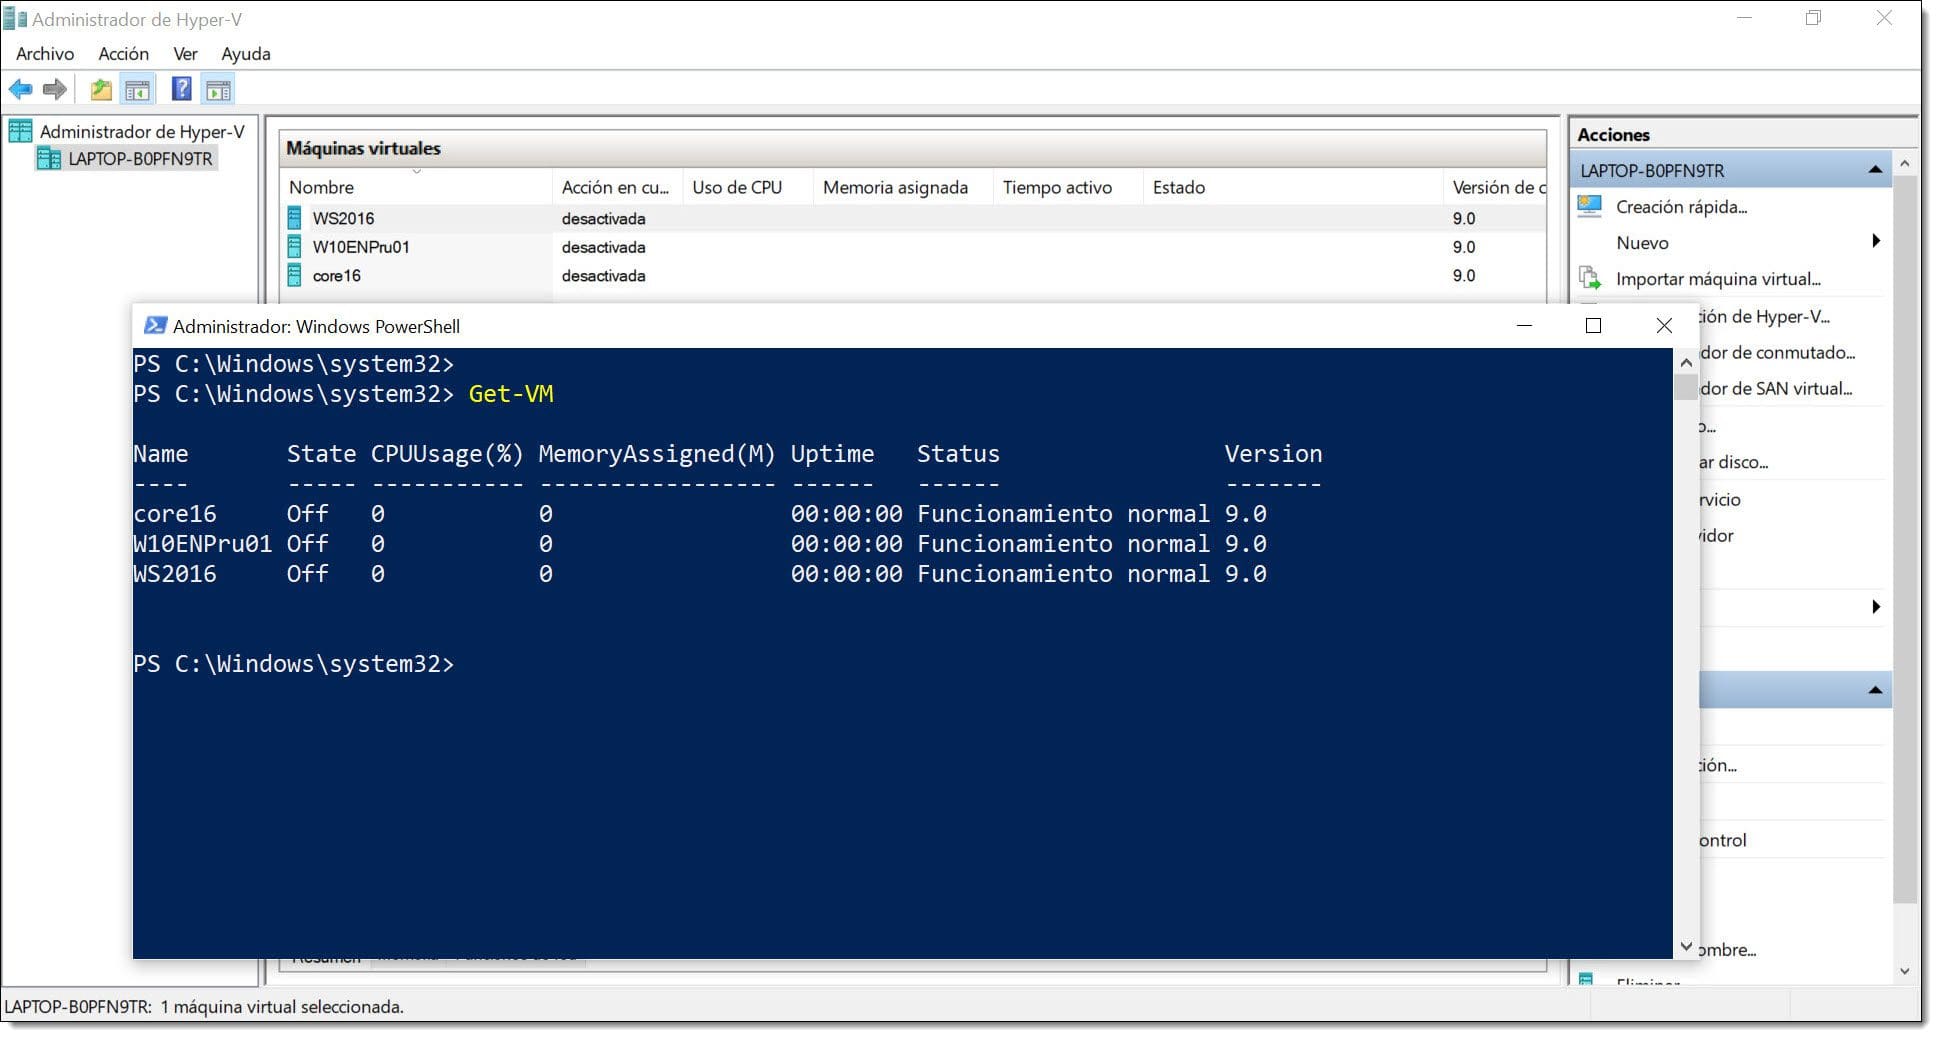
First, we’ll just ask for a list of machines using the “Get-VM” without any modifiers.
# Get-VM
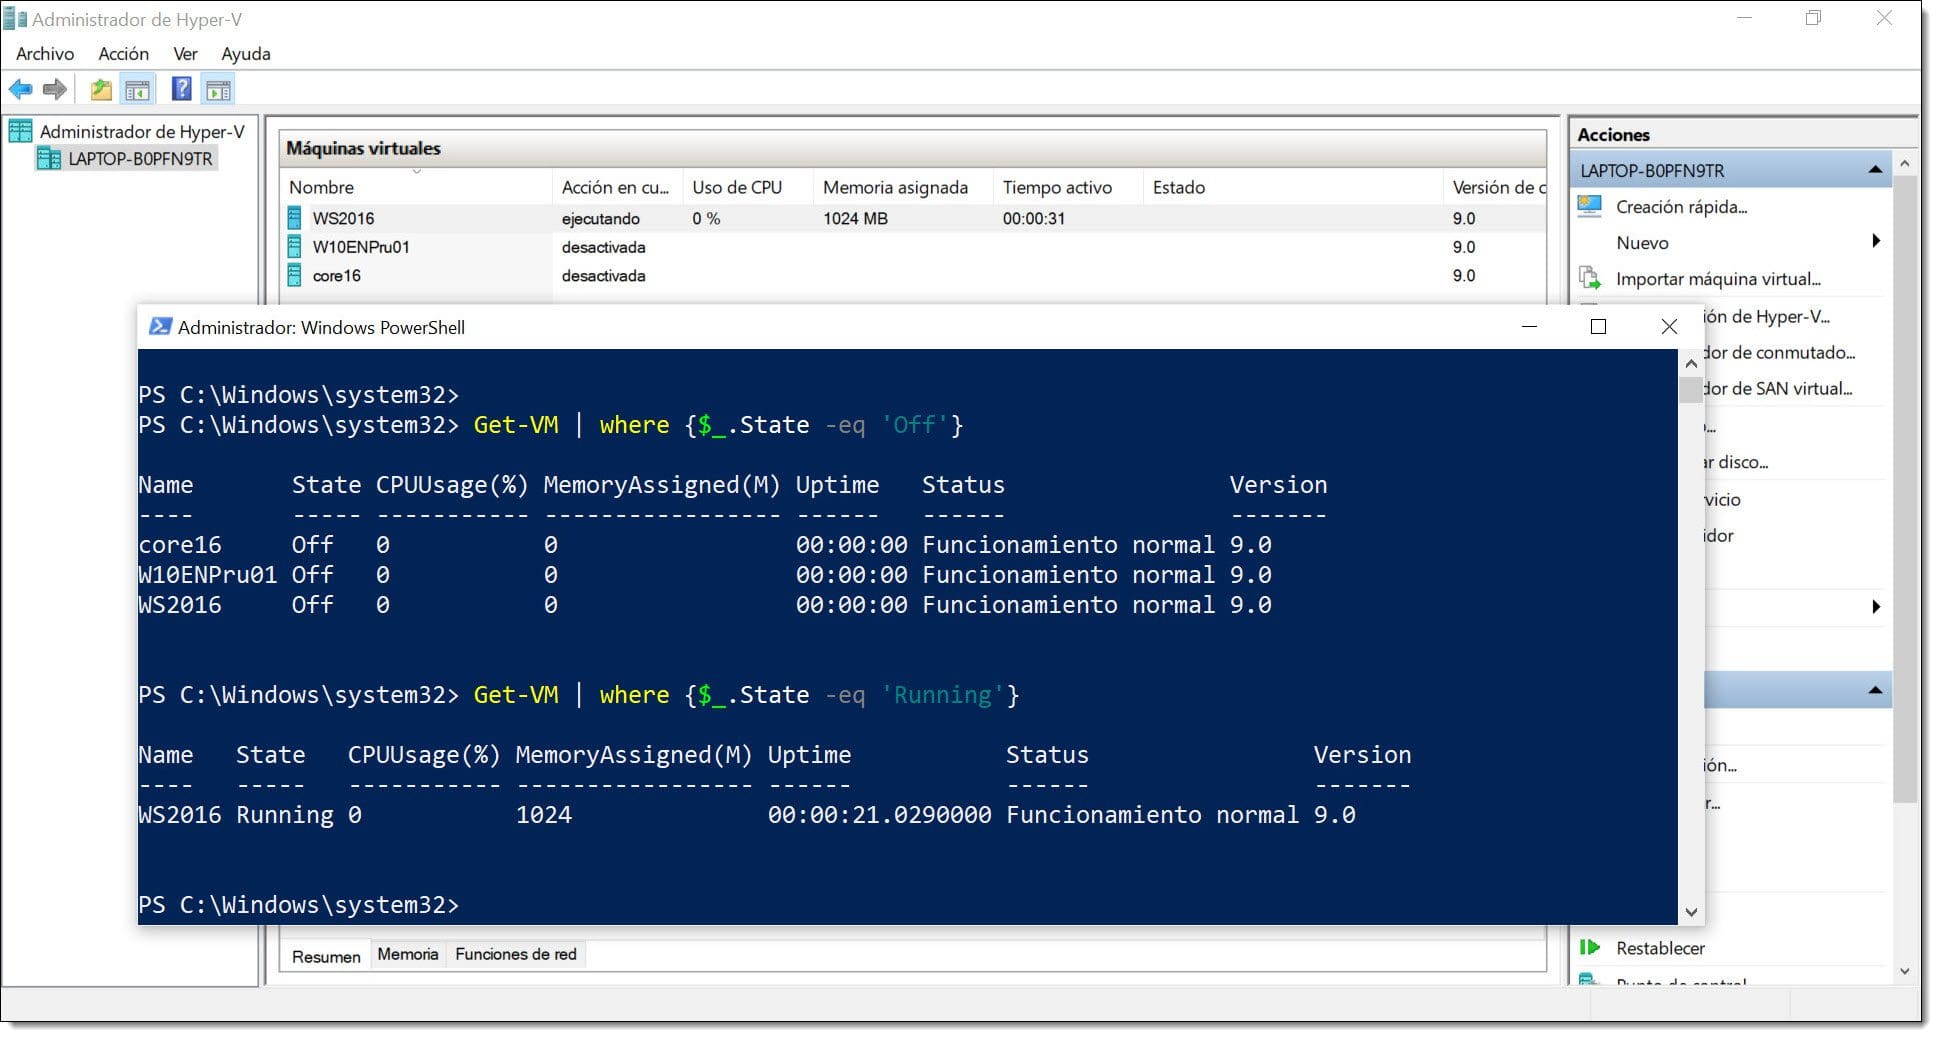
By using modifiers, you can also show just the VMs in a specific state, like ‘running’ or ‘off’.
Get-VM | where {$_.State -eq ‘Running’}
Get-VM | where {$_.State -eq ‘Off’}
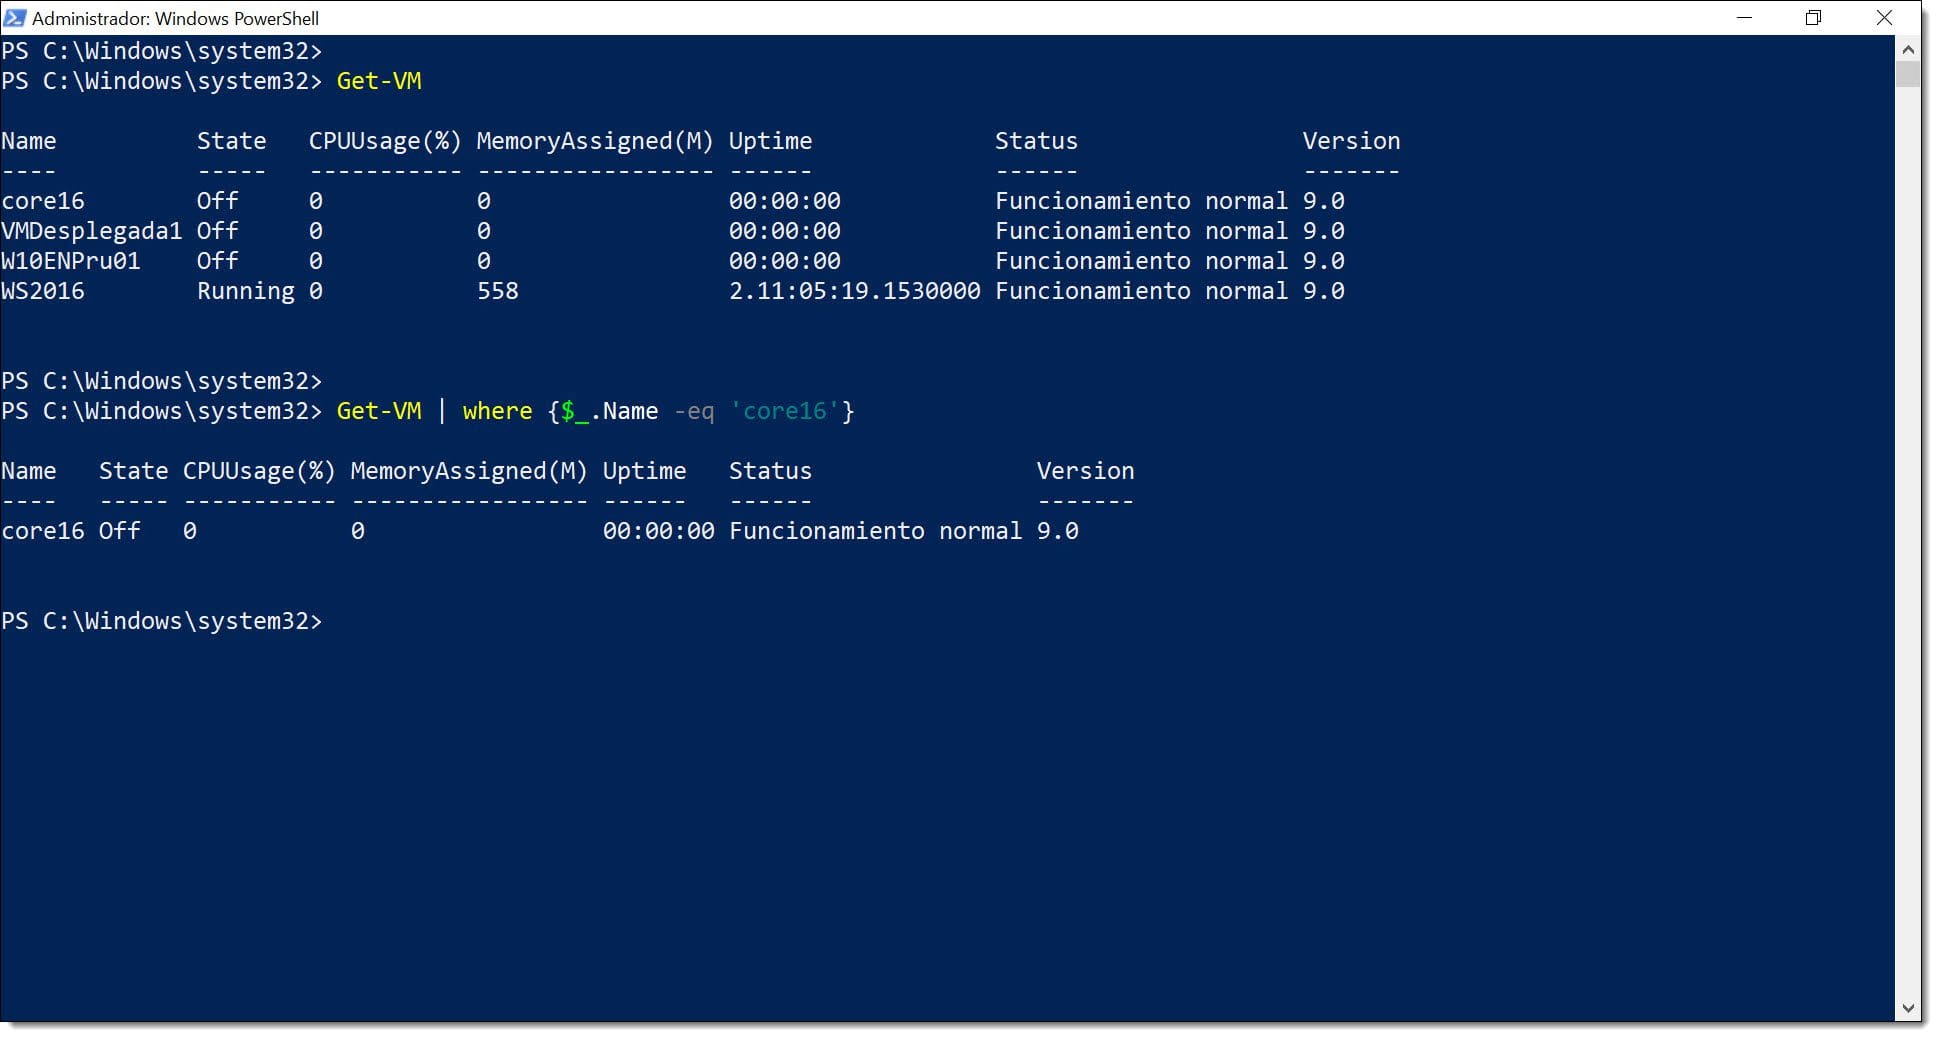
You can also search for a specific VM using the modifier ‘characteristic “$_.Name”’:
Get-VM | where {$_.Name -eq ‘<Name>’}
Where:
- <Name> is the name of the VM you want to show.
Starting and Stopping VMs Using PowerShell Commands
Now that you’ve learnt how to use the help files and query the available VMs, it’s time to learn how to start and stop them.
To this, we will use the rather unoriginal commands “Start-VM” and “Stop-VM”. All you need to do is add the name of the VM that you want to start or stop.
# Start-VM -Name <Name>
And
# Stop-VM -Name <Name>
So, for example, if you want to stop a VM called “Nacho”, you should use the following command:
# Stop-VM -Name Nacho
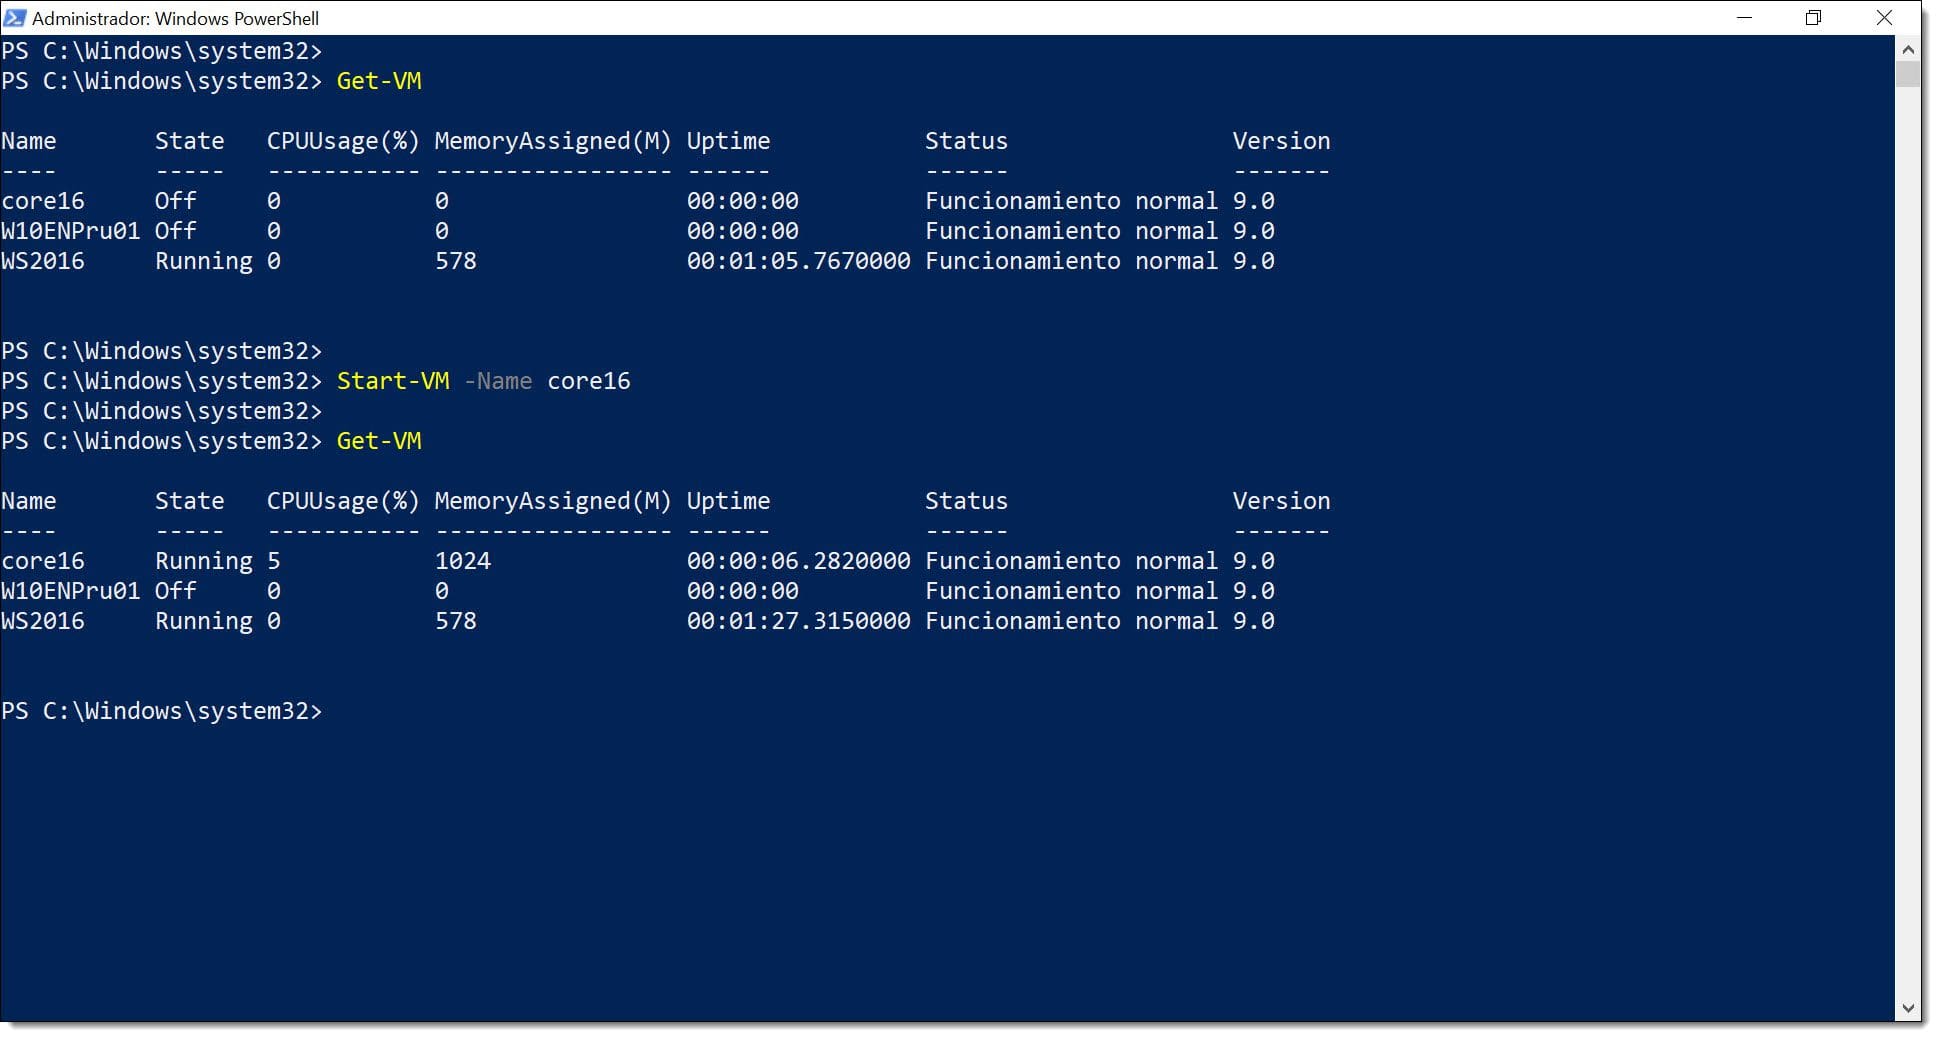
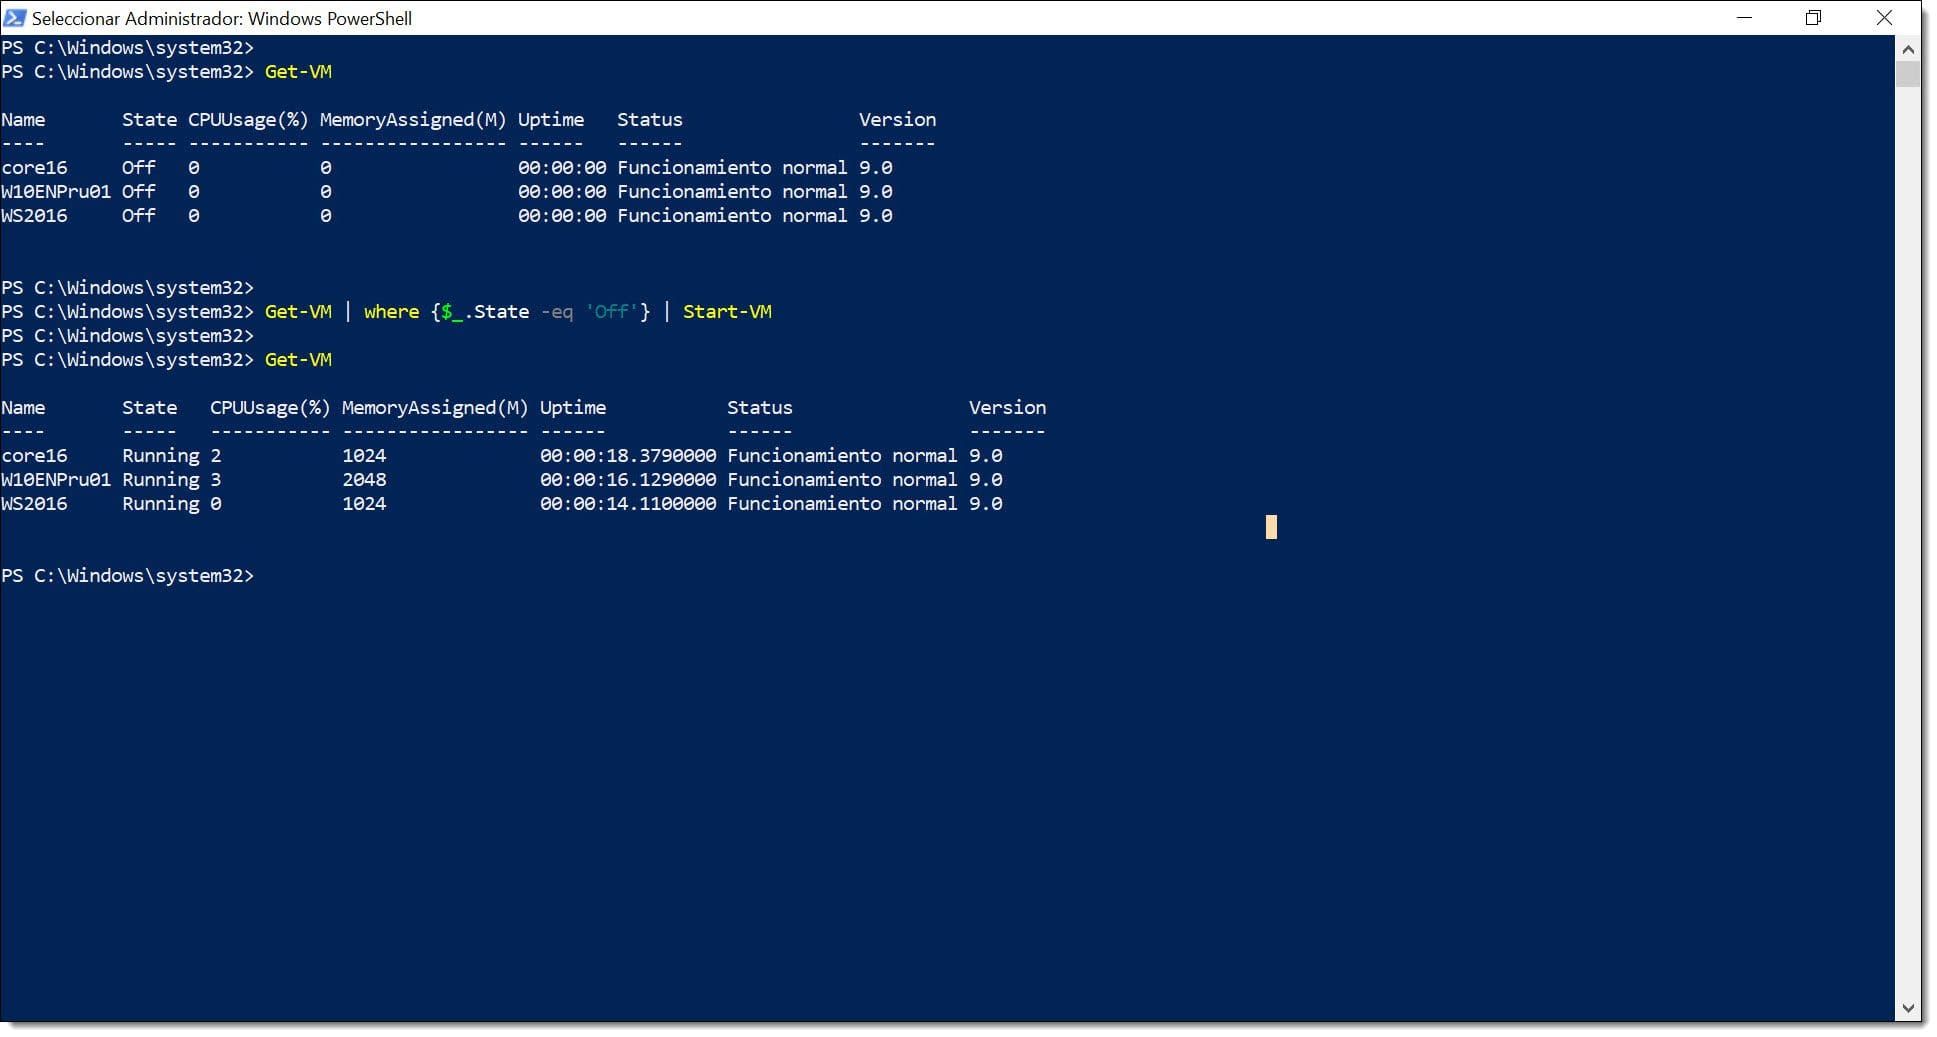
You can also combine commands in order to list the VMs that are currently off and then start them. Here’s an example:
# Get-VM | where {$_.State -eq ‘Off’} | Start-VM
Let’s break this down for a second. First, we use the “Get-VM” command with the modifier “where {_.State -eq ‘Off’} to return a list of VMs that are not running. Then we add the “Start-VM” command to start just these machines. The important element here is the “|” symbol to link these commands together.
You can stop any running machines in a similar way:
# Get-VM | where {$_.State -eq ‘Running’} | Stop-VM
These are just some basic PowerShell commands to manage your virtualised infrastructure, but they won’t be the last. We’ll be back soon with some more commands to help save you even more time!
Summary
As you can see, managing your Hyper-V server with PowerShell commands is really very straightforward and can save you a lot of time and effort compared to the graphic interface.
If you’re interested in finding out more about this topic and would like to run some tests on your desktop, check out our tutorial on How to Install Hyper-V on Windows 10.
Furthermore, you can consult our blog for other tutorials and articles related to Hyper-V.
Thanks for reading!
