In this article, we’ll reveal 10 PowerShell commands that you can use to manage your DNS server to keep everything under control as efficiently as possible.
In a previous article, we looked at how to deploy a DNS server using PowerShell commands, leaving you with a completely functional DNS server with very little effort.
Furthermore, we saw that by using scripts, you can replicate the process really easily for future deployments.
In this article, however, we’re going to see how you can use PowerShell commands to perform maintenance tasks. So, here are ten commands that you can use to manage your DNS server in the easiest way possible.
10 PowerShell Commands for Managing Your DNS Server
Below, we’ve listed ten cmdlets that you can use to manage your DNS server quickly and easily. In reality, all the tasks listed here can be performed using the graphic interface, which might seem easier, but PowerShell is much quicker.
1. Stop the DNS Service
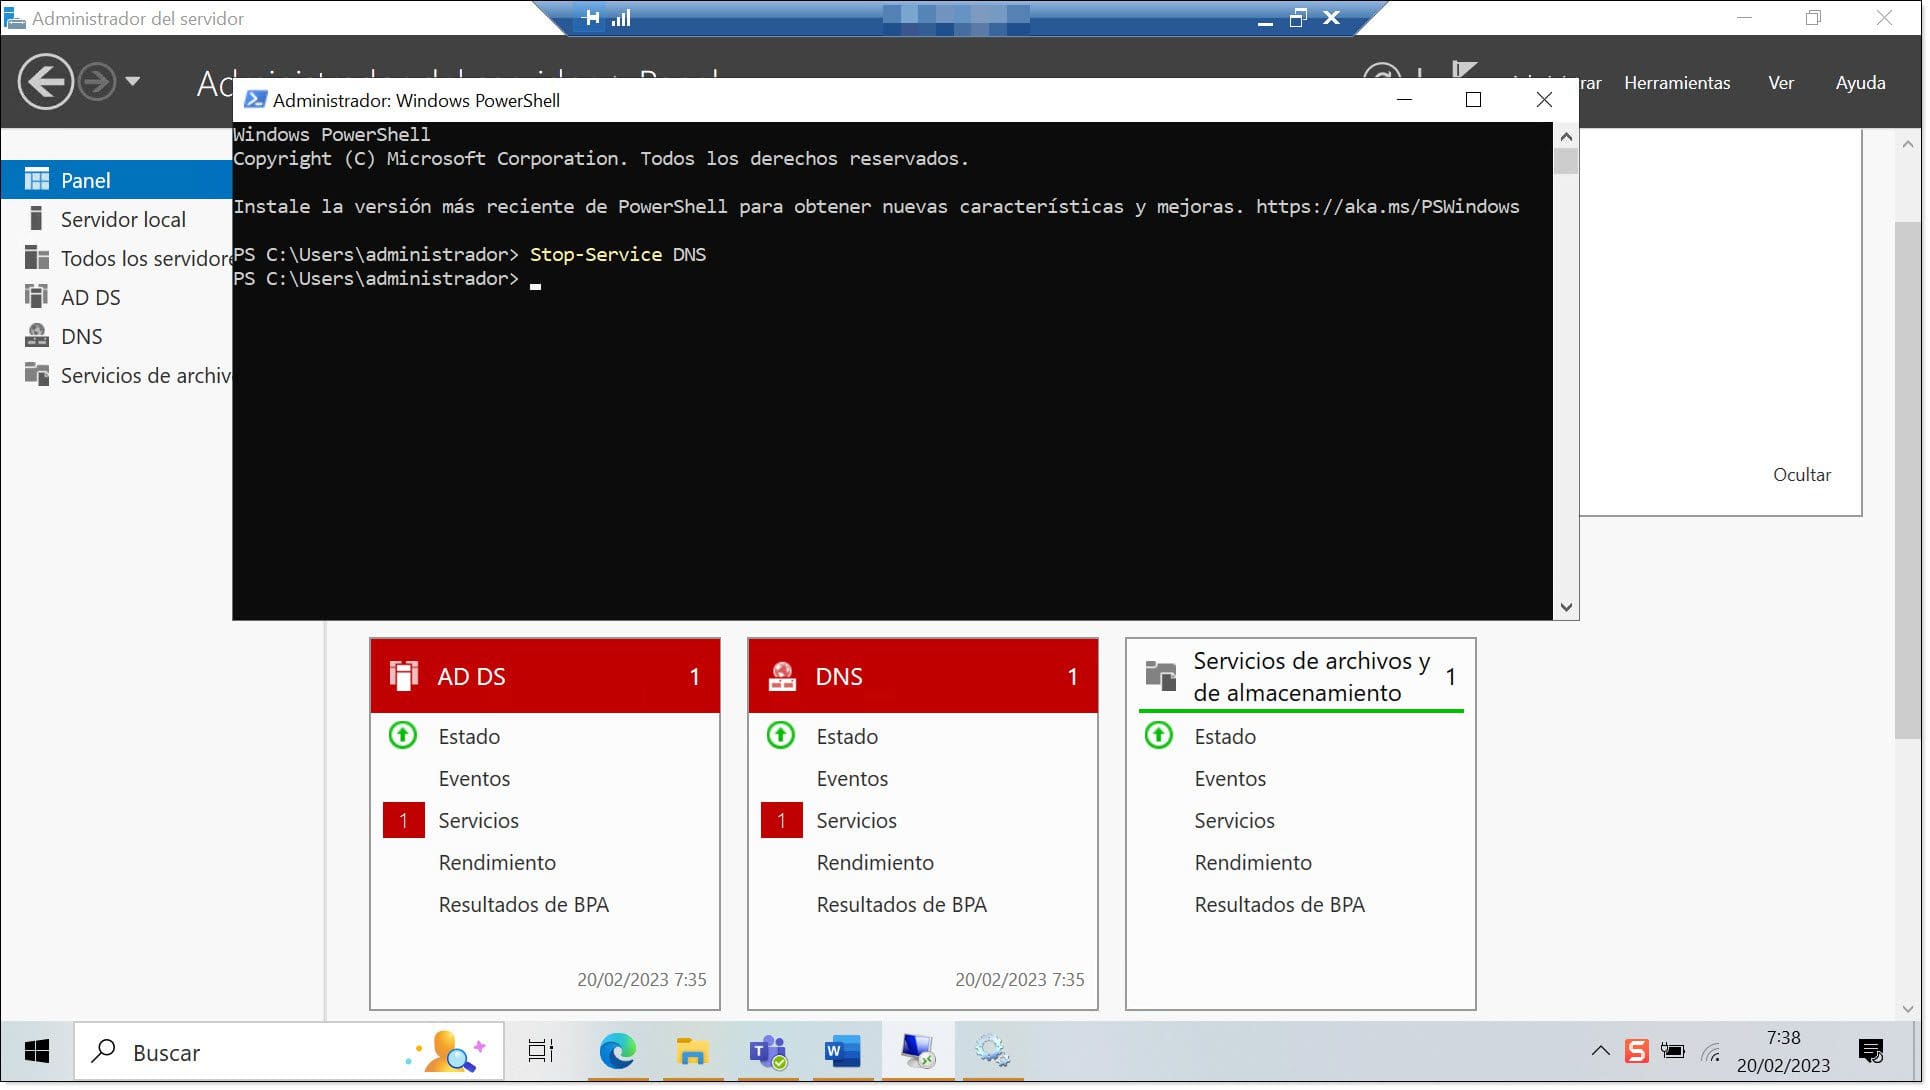
One of the most basic tasks that you need to know how to do is how to stop the service. This command can actually be used to stop all kinds of services but to stop the DNS service specifically, it will look something like this:
Stop-Service DNS
This command will only work on servers, not on client devices. On client devices, you can stop the cache but not the service entirely.
2. Start the DNS Service
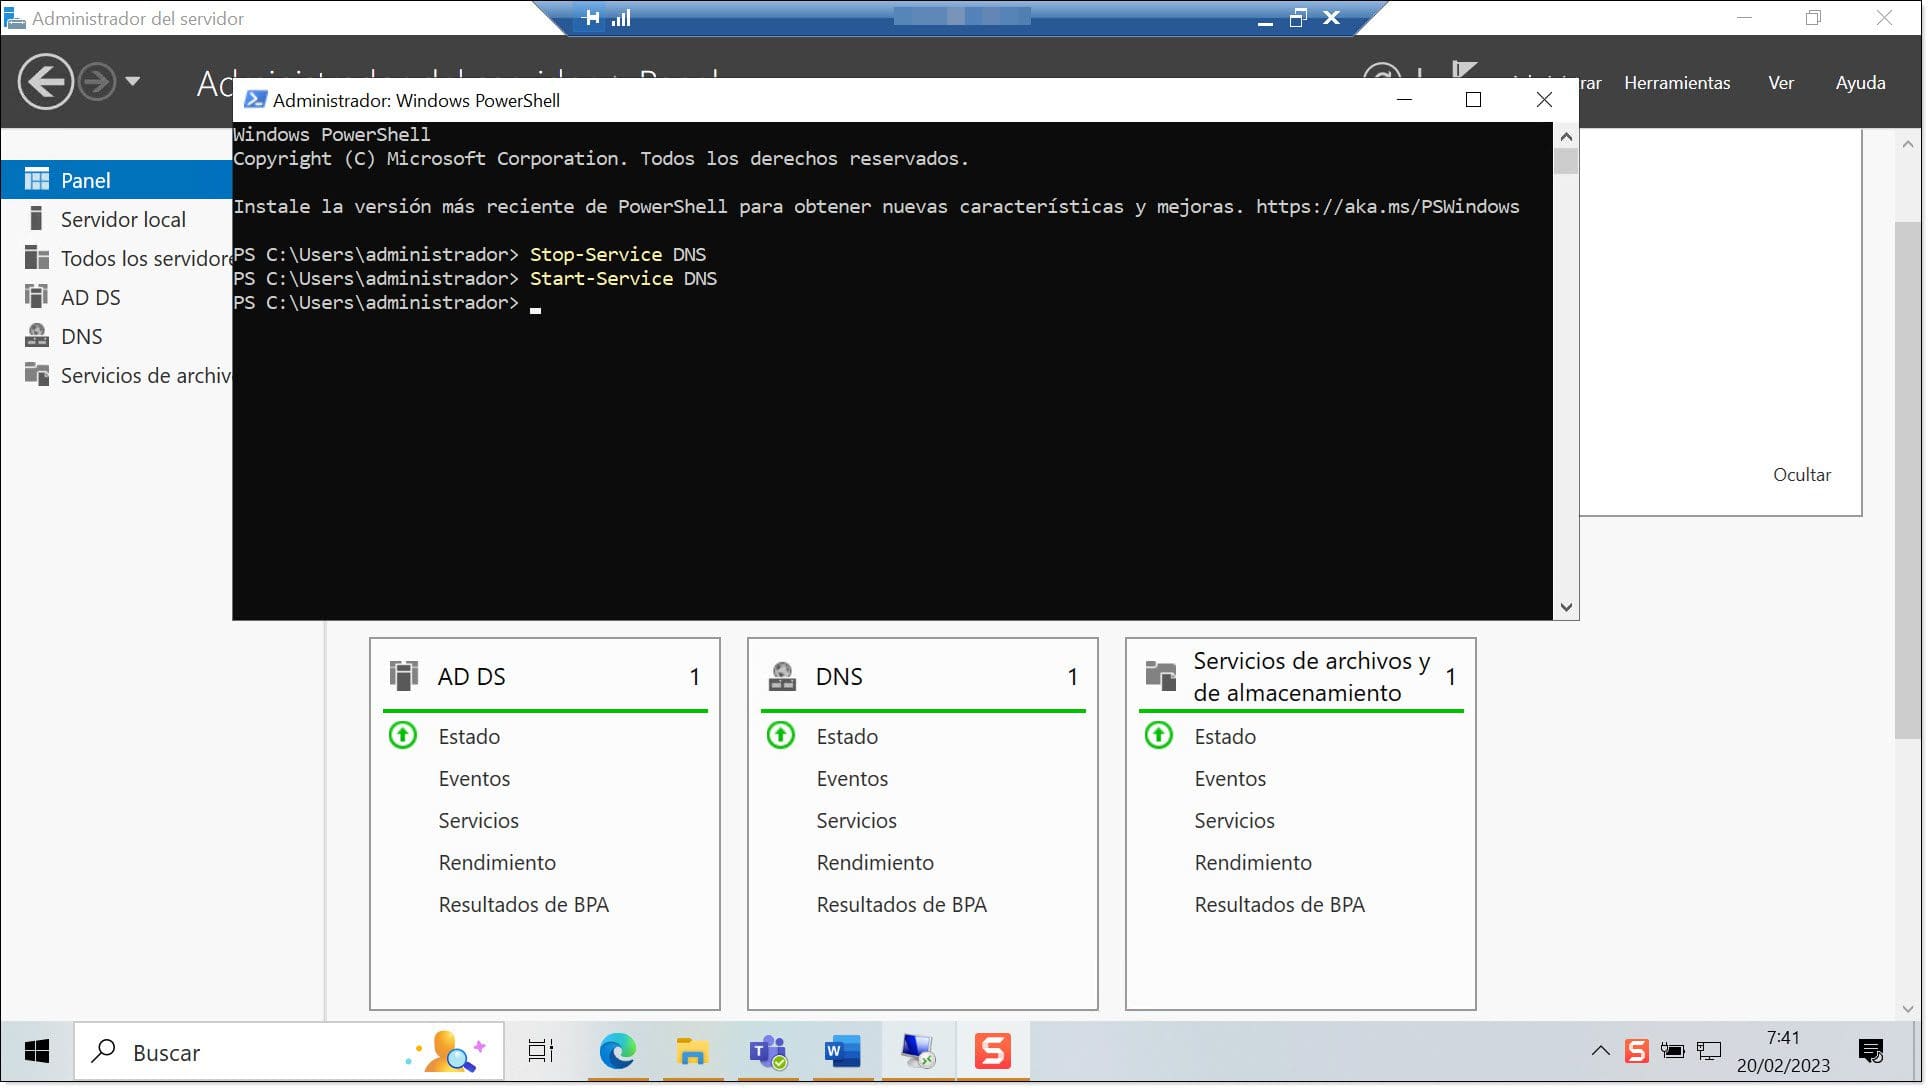
Just as important as being able to stop the service is being able to start it again. And once again, this command can be used to start all kinds of services. But to start the DNS service, it will look like this:
Start-Service DNS
Normally, you won’t see any confirmation message after running this command. Instead, if you want to check that the command has been run correctly, you can either launch the command “Get-Service DNS” or open the graphic interface.
3. Restart the DNS Service
You already know how to start and stop the service, but sometimes you might want to stop it and start again straight away.
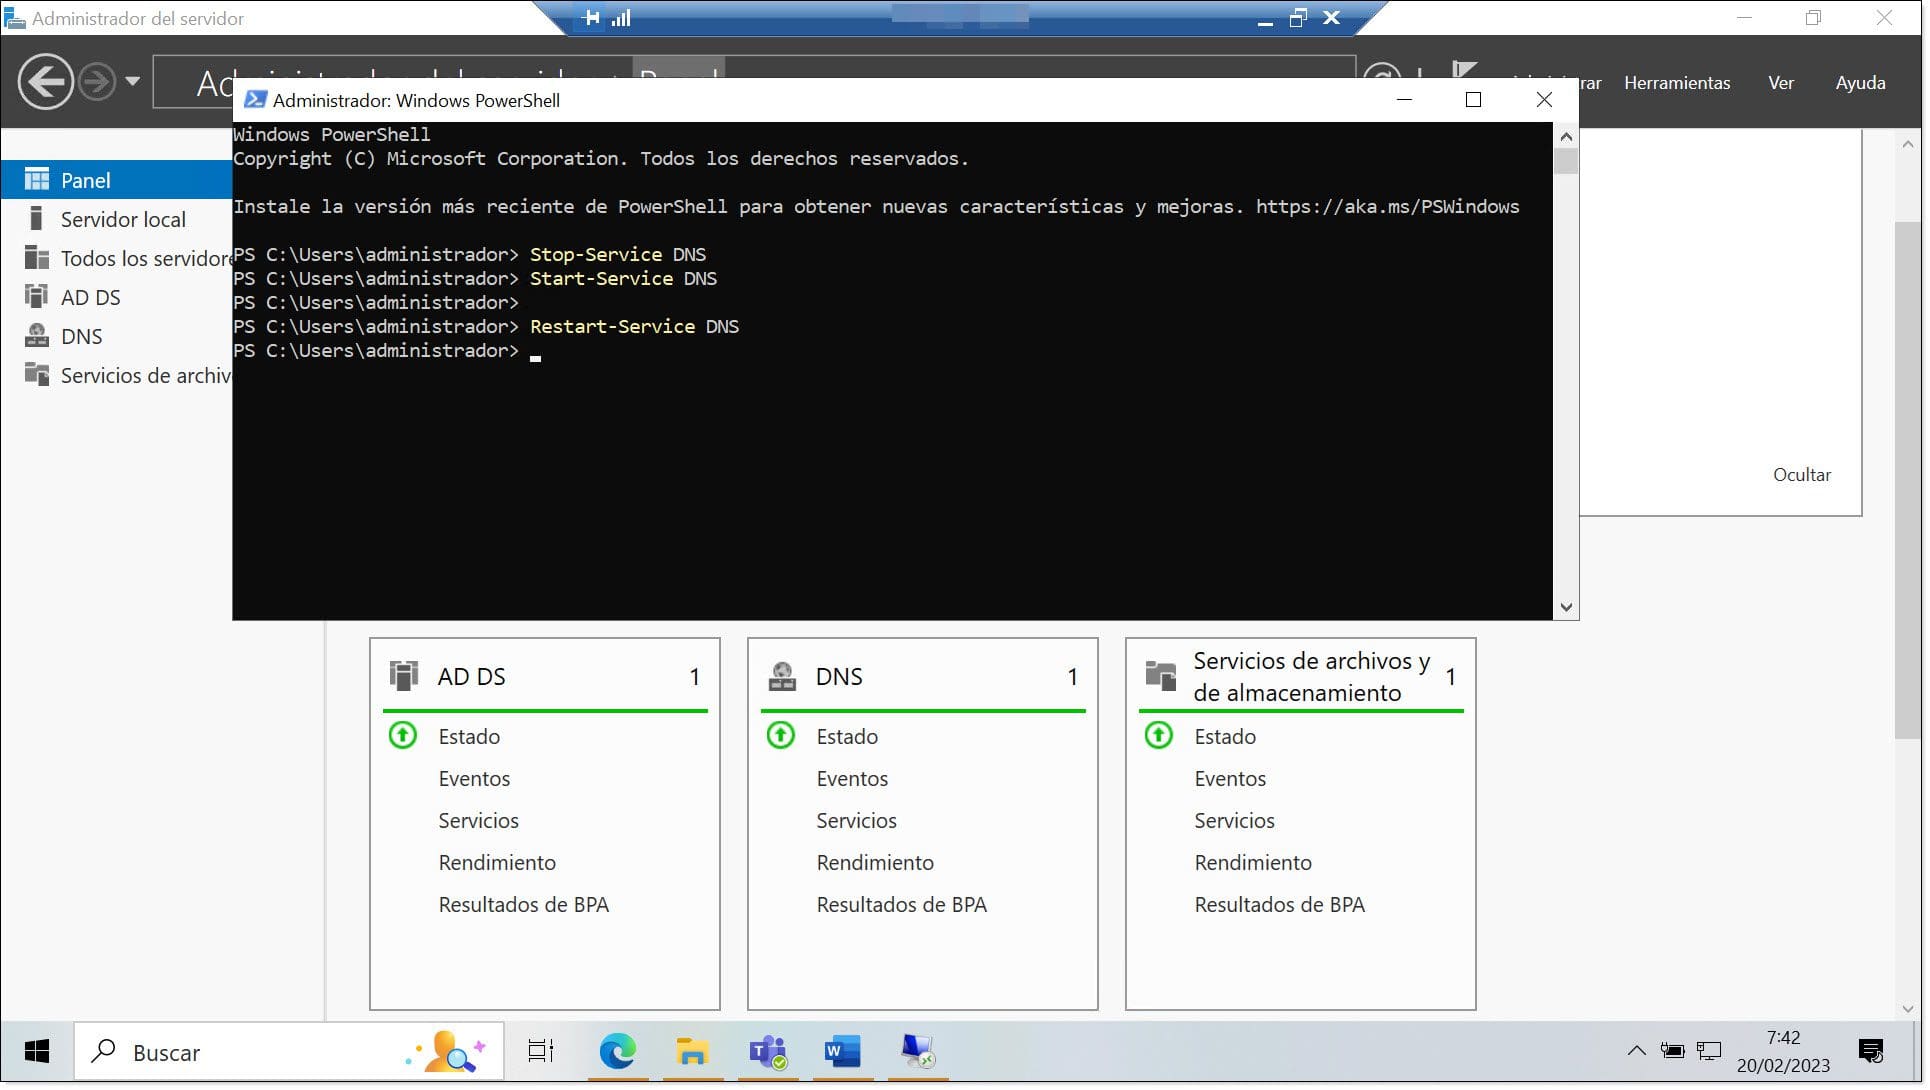
Luckily, you can do this with a single reset command, which looks like this:
Restart-Service DNS
This command will order the server to re-read the configuration files, and that way, you can apply changes or resolve an error.
With these three commands, you’ve now got the basics taken care of.
4. Check DNS Resolution
Another common task is to check the name resolution to see whether the system can resolve a specific name.
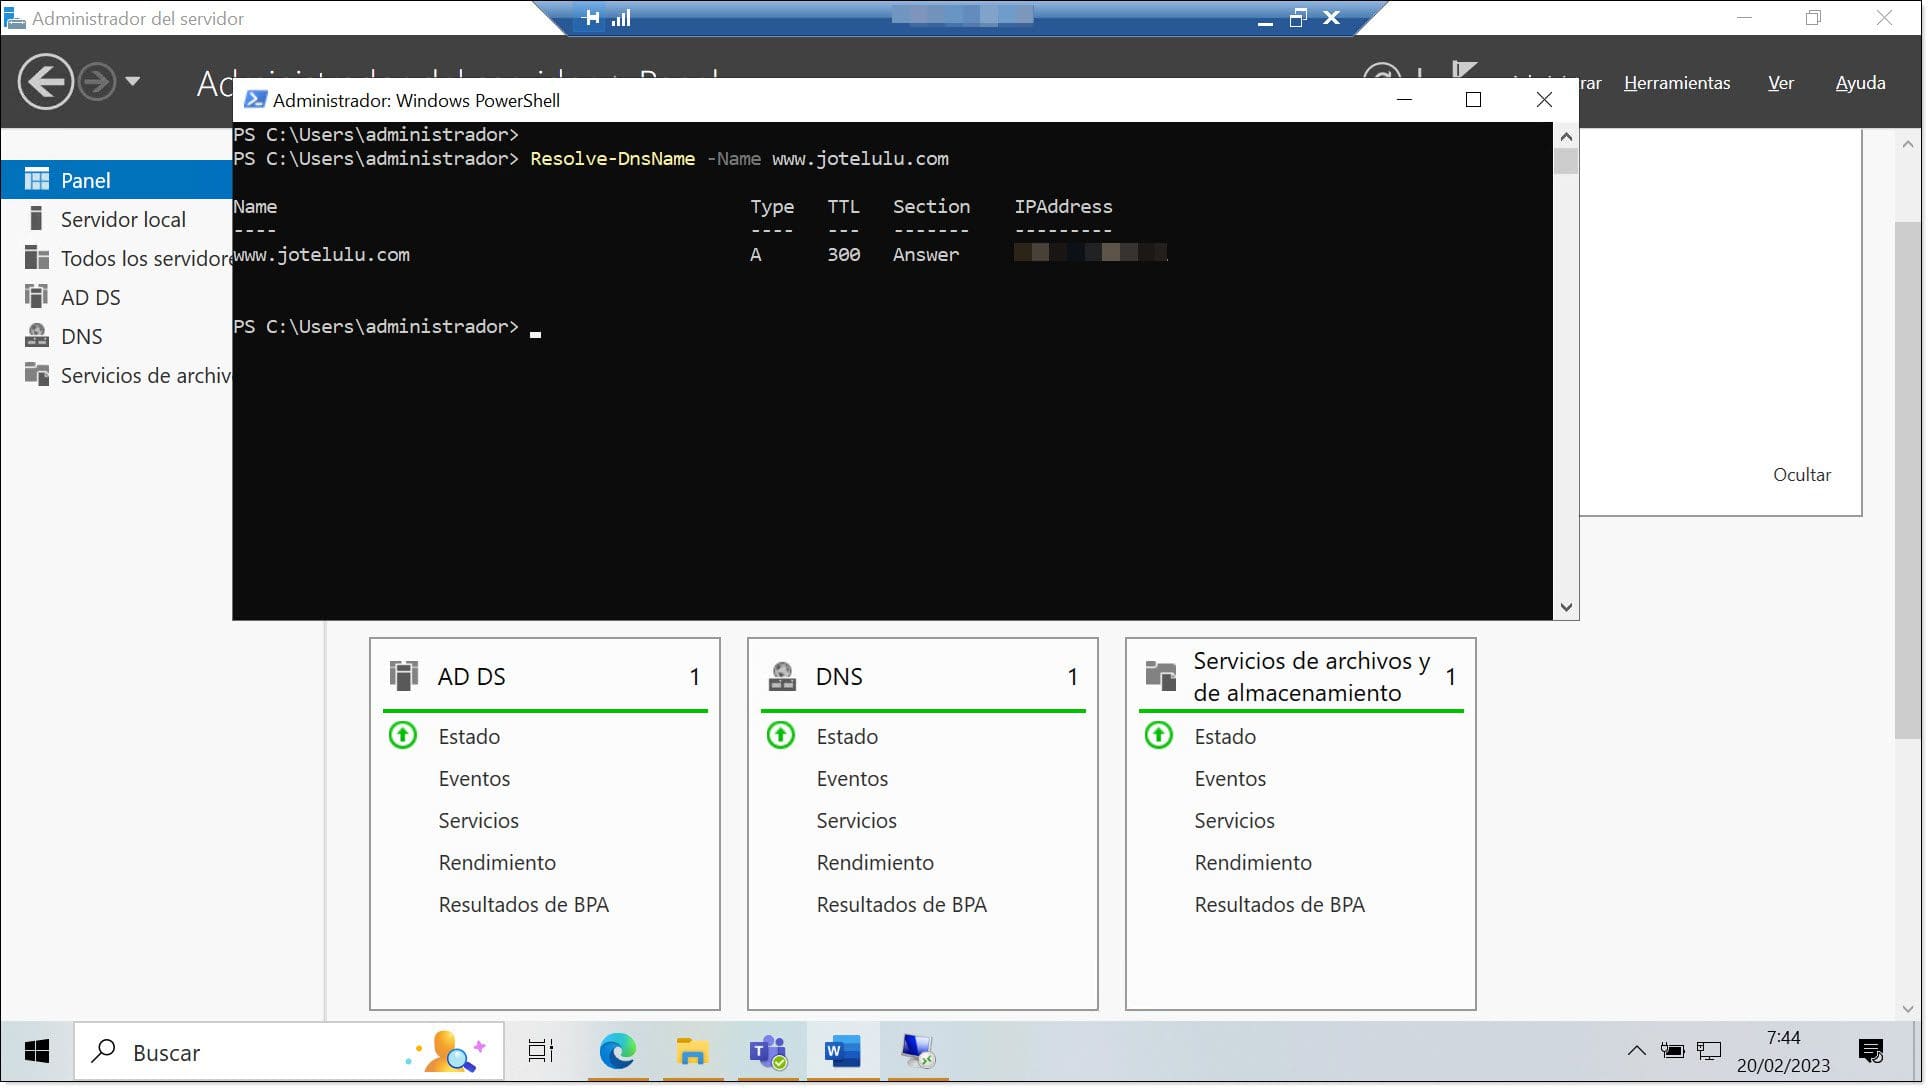
The cmdlet “Resolve-DnsName” queries the DNS for the specified name.
This cmdlet performs a similar task to nslookup, which allows users to query names.
There are two ways of using this command, as you can choose to specify the server to use if you wish.
If you don’t want to specify a server to use, the command will look something like this (using the Jotelulu website as an example):
Resolve-DnsName -Name www.jotelulu.com
However, if you want to use a specific server to resolve the query, the command will look like this:
Resolve-DnsName -Name www.jotelulu.com -Server 10.0.0.1
5. Show the DNS Cache
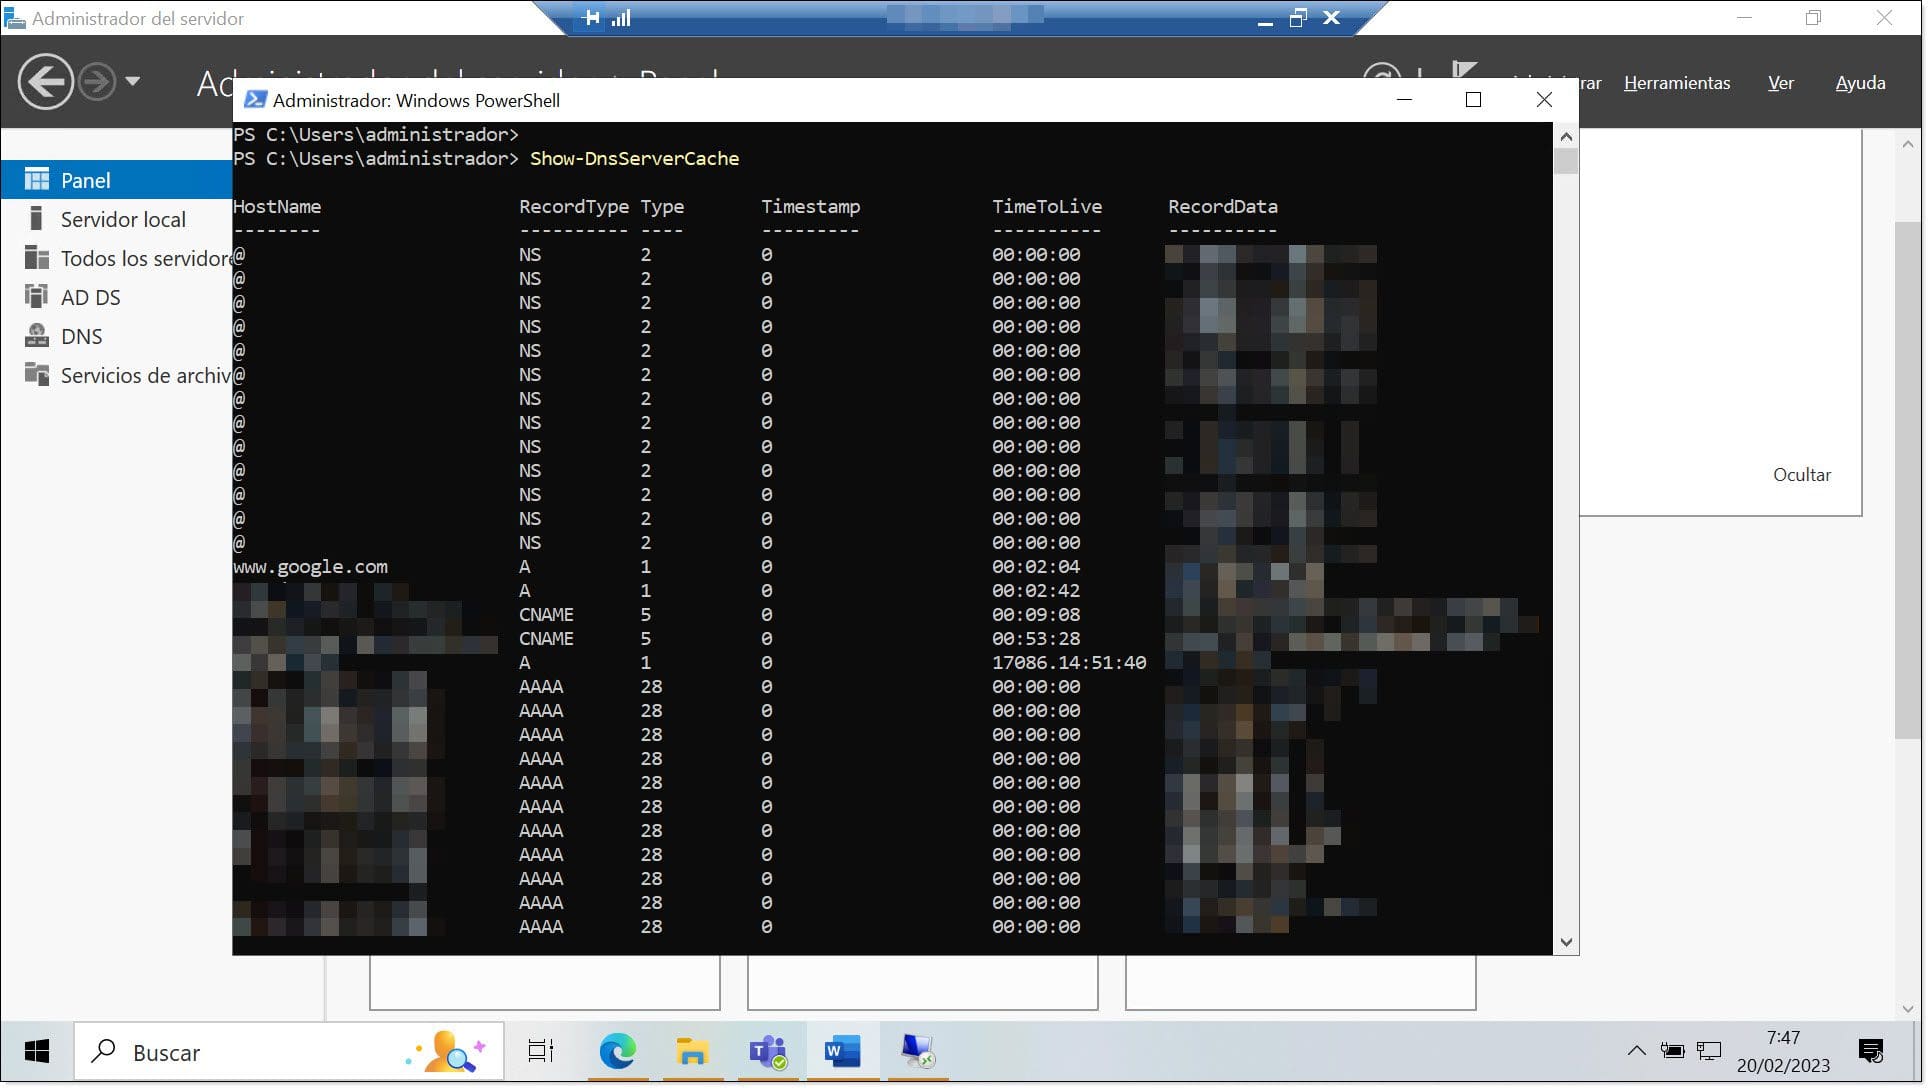
Now and again, you might be interested to see what the resolver cache looks like, whether from a server or a client device. To do this, you can either use the classic command prompt or use our good old friend PowerShell.
To show the contents of the DNS cache using PowerShell, simply run the following command:
Show-DnsServerCache
This command will return pages and pages of entries, so you might want to dump the results into a text document so you can examine it in more detail.
6. Clear the DNS Cache
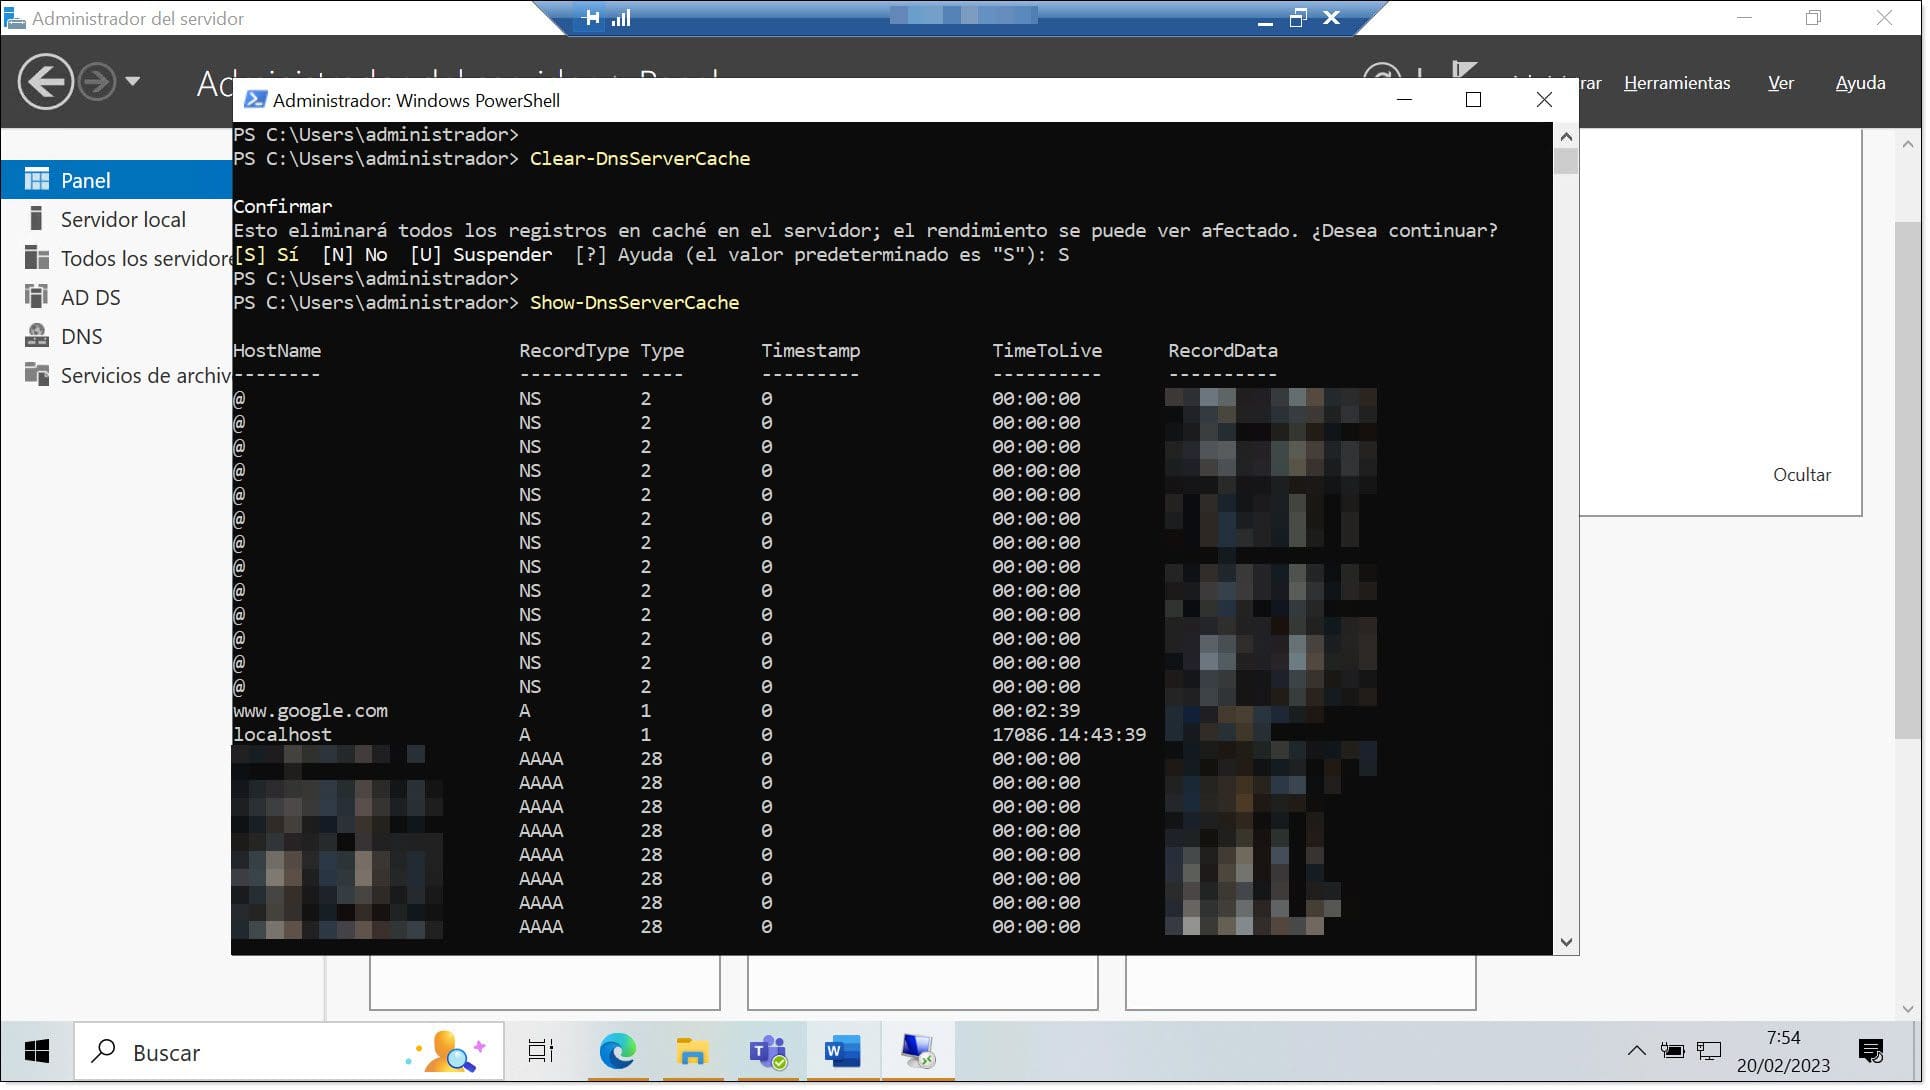
You can also clear the DNS cache for your server or client device. To do this, simply run the following command:
Clear-DnsServerCache
This command can be run in between two queries so that you can see that the entries have been deleted.
7. Review the DNS Server Statistics
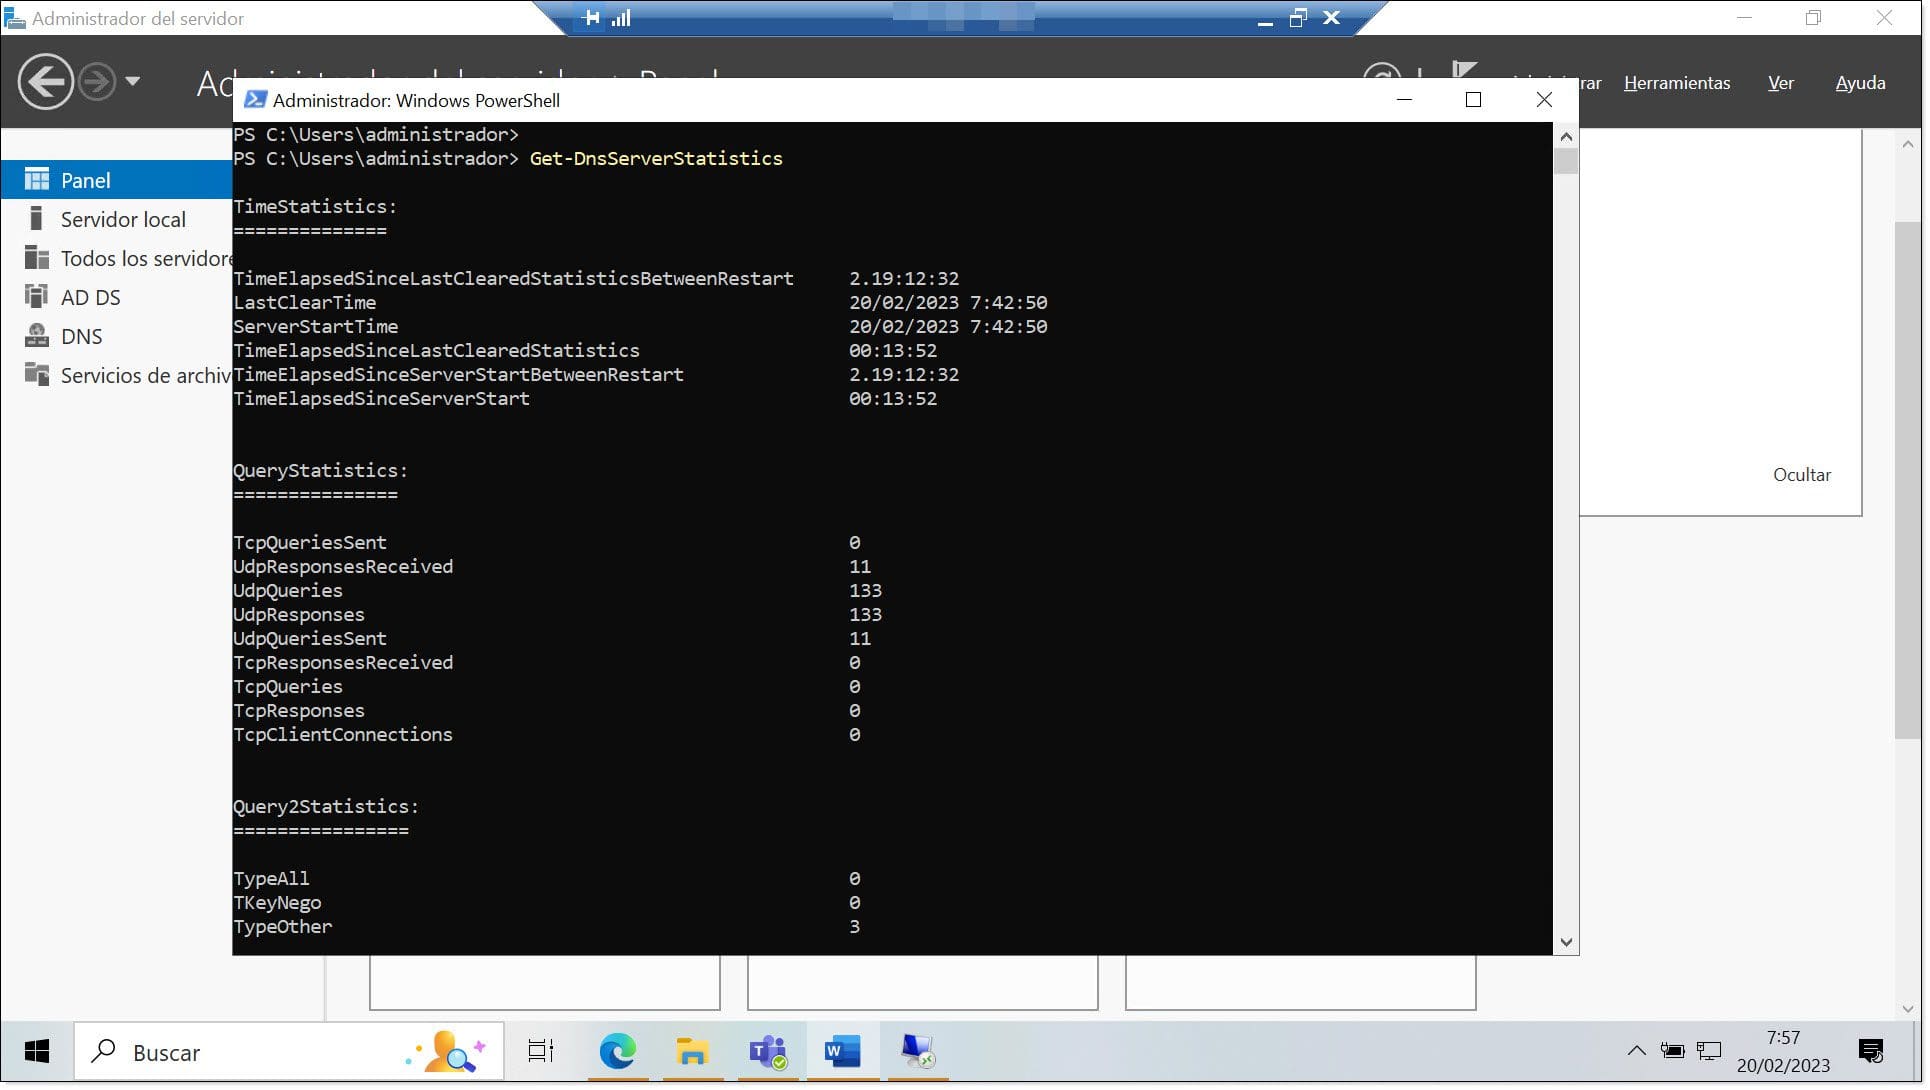
Another interesting thing you can do with PowerShell is consult the DNS Server statistics, which will show you things like entries, queries, etc.
You can perform this task using the graphic interface too, but PowerShell is still quicker. Here’s the cmdlet:
Get-DnsServerStatistics
Again, there will be a lot of data here, so you’ll probably want to move it all into a text file for easier reading.
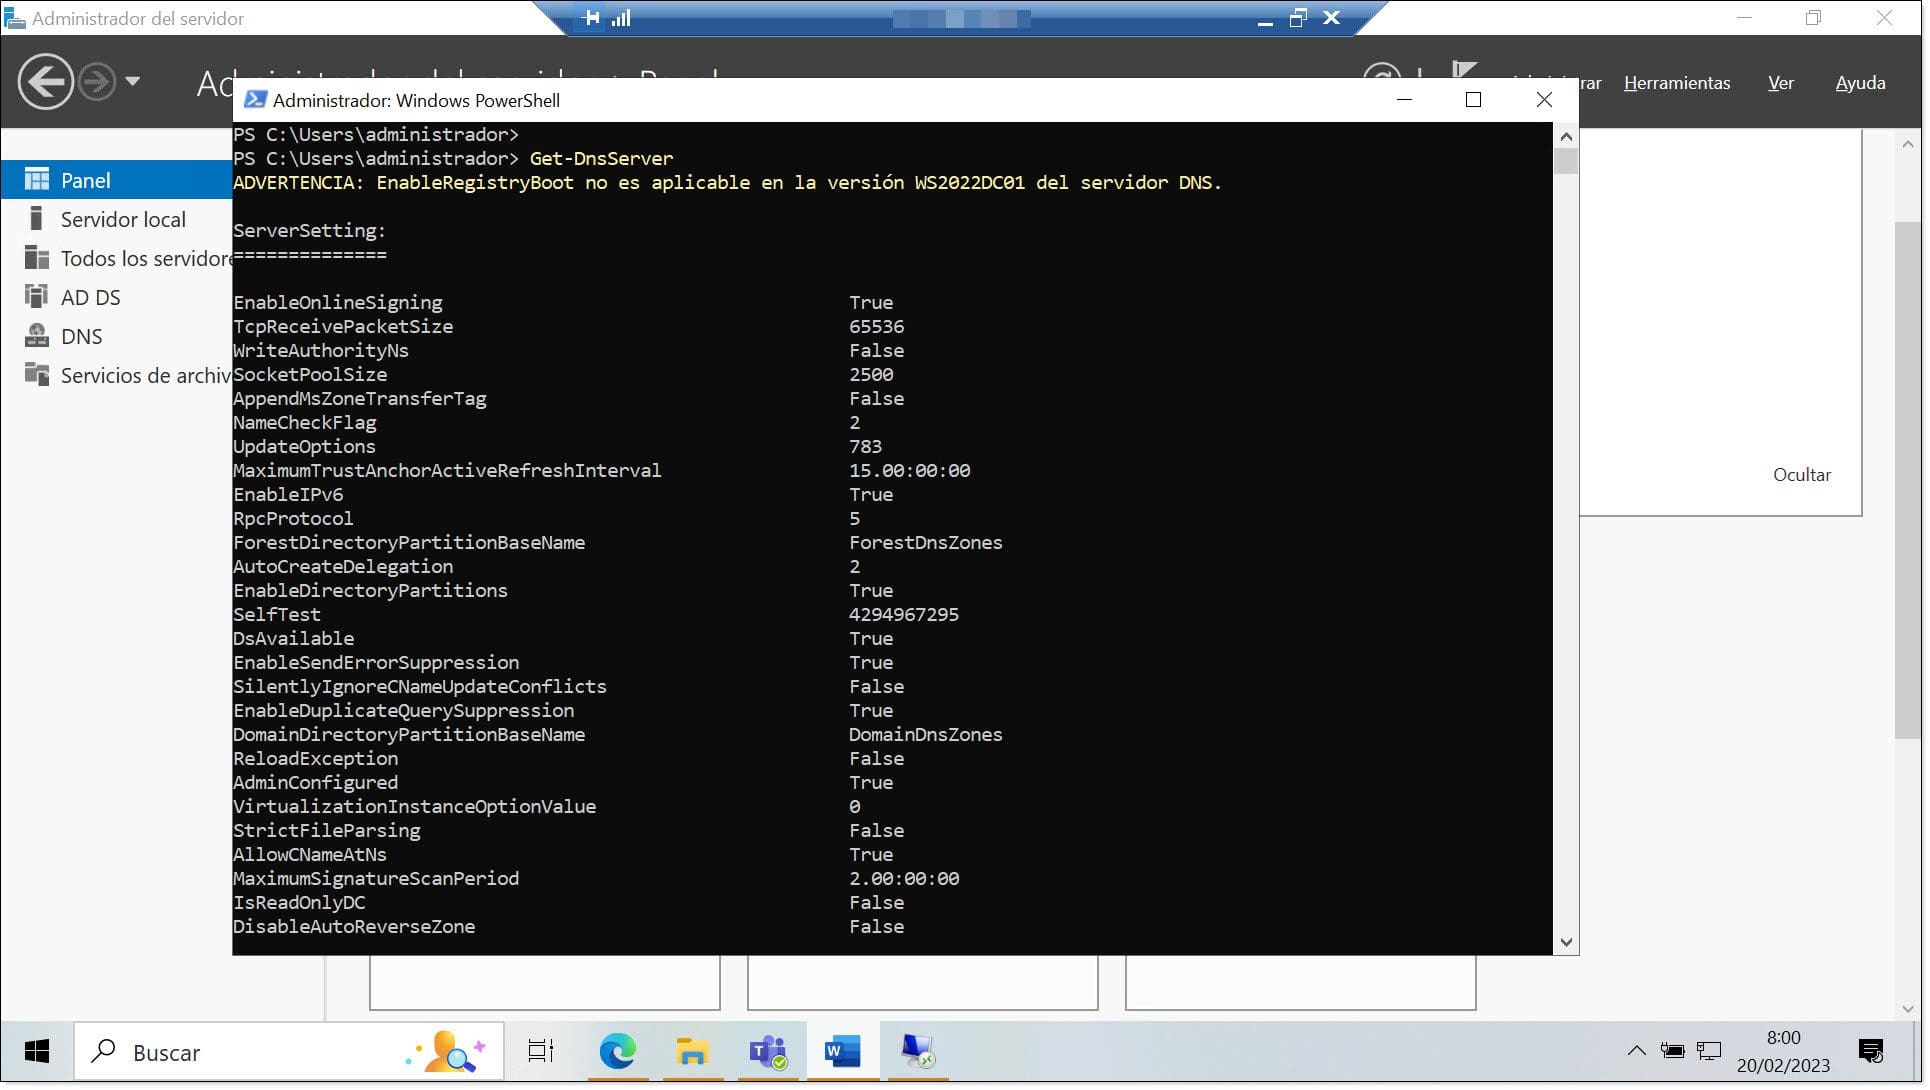
8. Review the DNS Service Settings
If you need to take a look at the settings for your DNS server, there’s a PowerShell command for that too!
To see the configuration details for your DNS Server, simply run the following cmdlet:
Get-DnsServer
A useful thing to do with the output of this command is to save it in a text file for future consultation. That way, you’ll have a record of previous settings if you make any changes later on.
9. Add New Service and Device Records
Another command task when managing a DNS server is registering all the services, devices and servers that your infrastructure uses.
To do this, you need to use the different kinds of records stored on the DNS server.
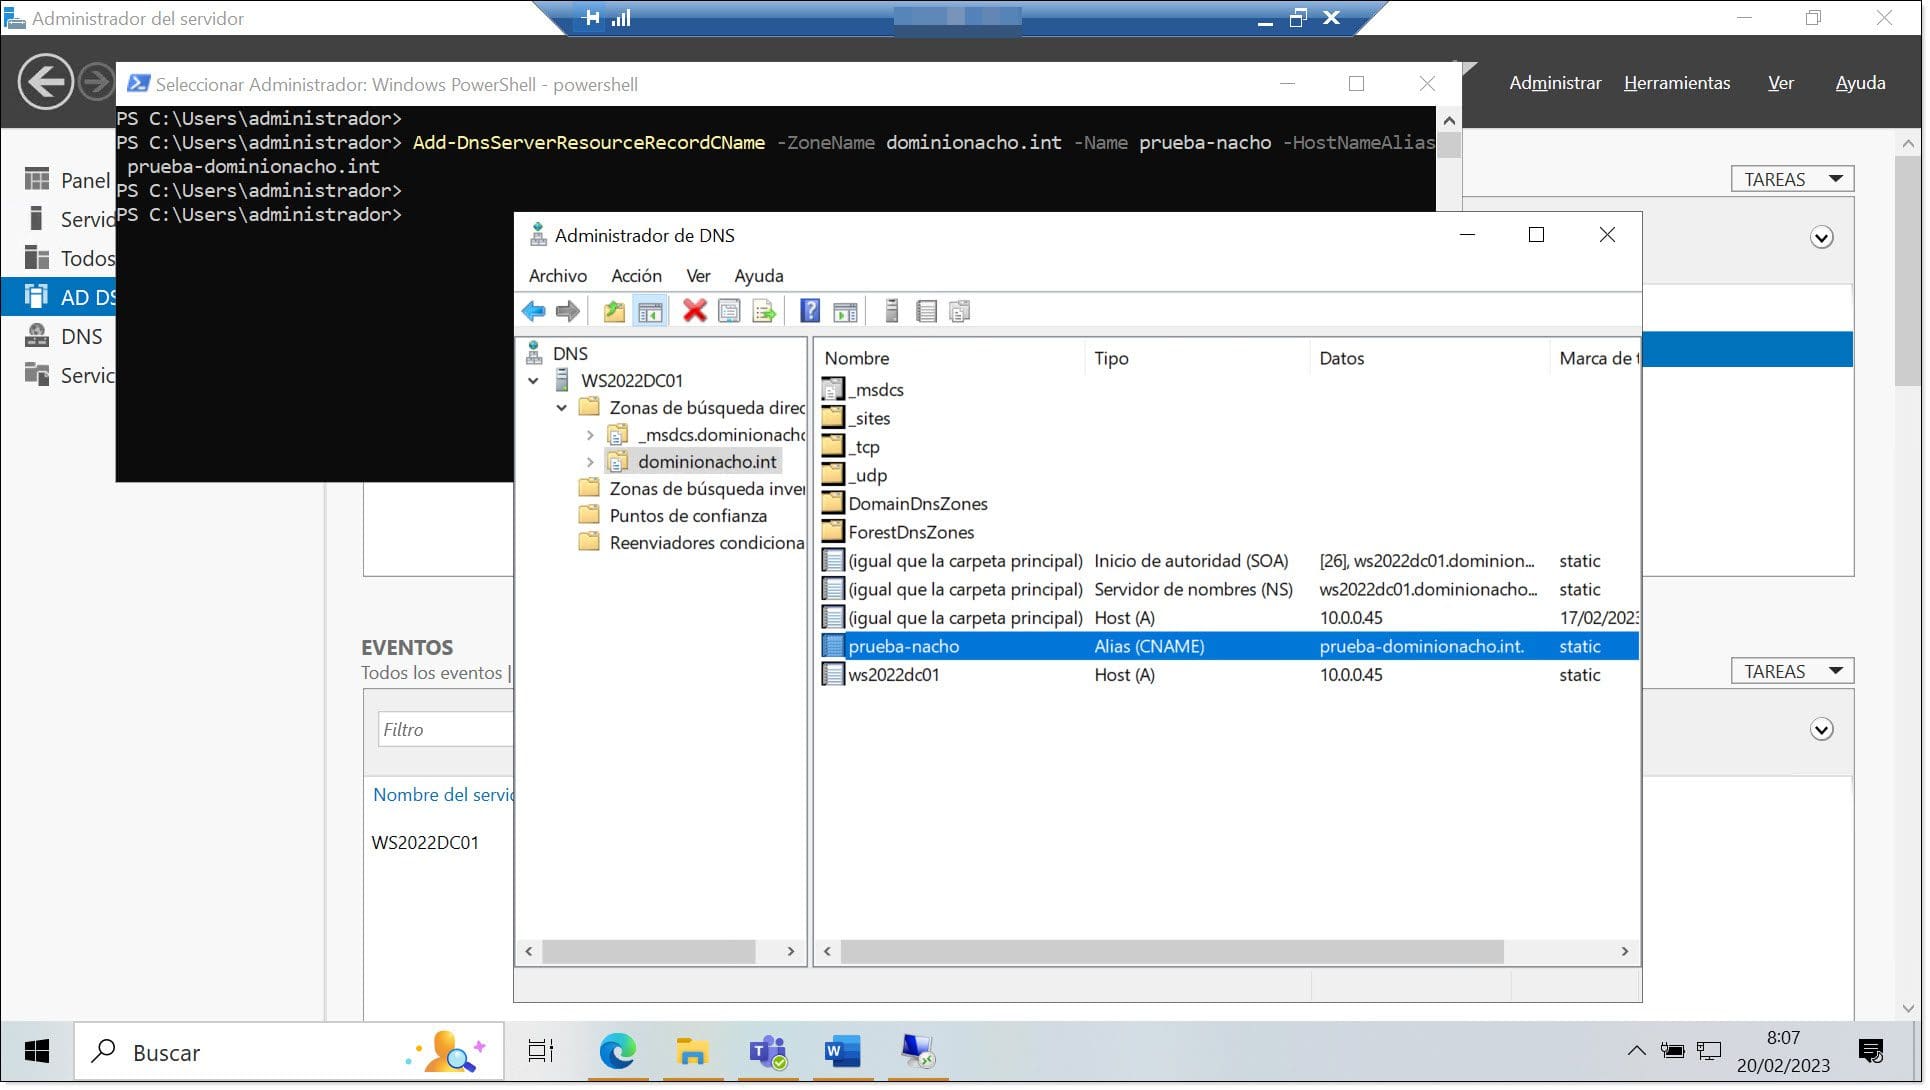
Add-DnsServerResourceRecordCName -ZoneName <ZONE_NAME> -Name <ENTRY> -HostNameAlias <FULL_ALIAS>
Where:
- Add-DnsServerResourceRecordCName is the command to add a CNAME record.
- ZoneName <ZONE_NAME> specifies the zone.
- Name <ENTRY> specifies the name of the record.
- HostNameAlias <FULL_ALIAS> specifies an alias for the new input
Here’s an example:
Add-DnsServerResourceRecordCName -ZoneName jotelulu.com -Name nacho-test -HostNameAlias nacho-test-jotelulu.com
This example adds a CNAME record. For other types of records, this command will vary.
Here are a few more examples.
For a PTR Record:
Add-DNSServerResourceRecordPTR -ZoneName 1.168.192.in-jotelulu.com -Name 12 -PTRDomainName nacho1-jotelulu.com
For an A Record:
Add-DnsServerResourceRecordA -Name pointer -IPv4Address 192.168.1.122 -ZoneName server1.jotelulu.com -TimeToLive 01:00:00
For an AAA Record:
Add-DnsServerResourceRecordAAAA -Name “nachopc” -ZoneName “jotelulu.com” -AllowUpdateAny -IPv6Address “fff4::1” -TimeToLive 01:00:00
For an MX Record:
Add-DnsServerResourceRecordMX -Preference 10 -Name “.” -TimeToLive 01:00:00 -MailExchange “mail.jotelulu.com” -ZoneName “jotelulu.com”
For more examples, check out the PowerShell documentation for DNS.
10. Remove Service and Device Records
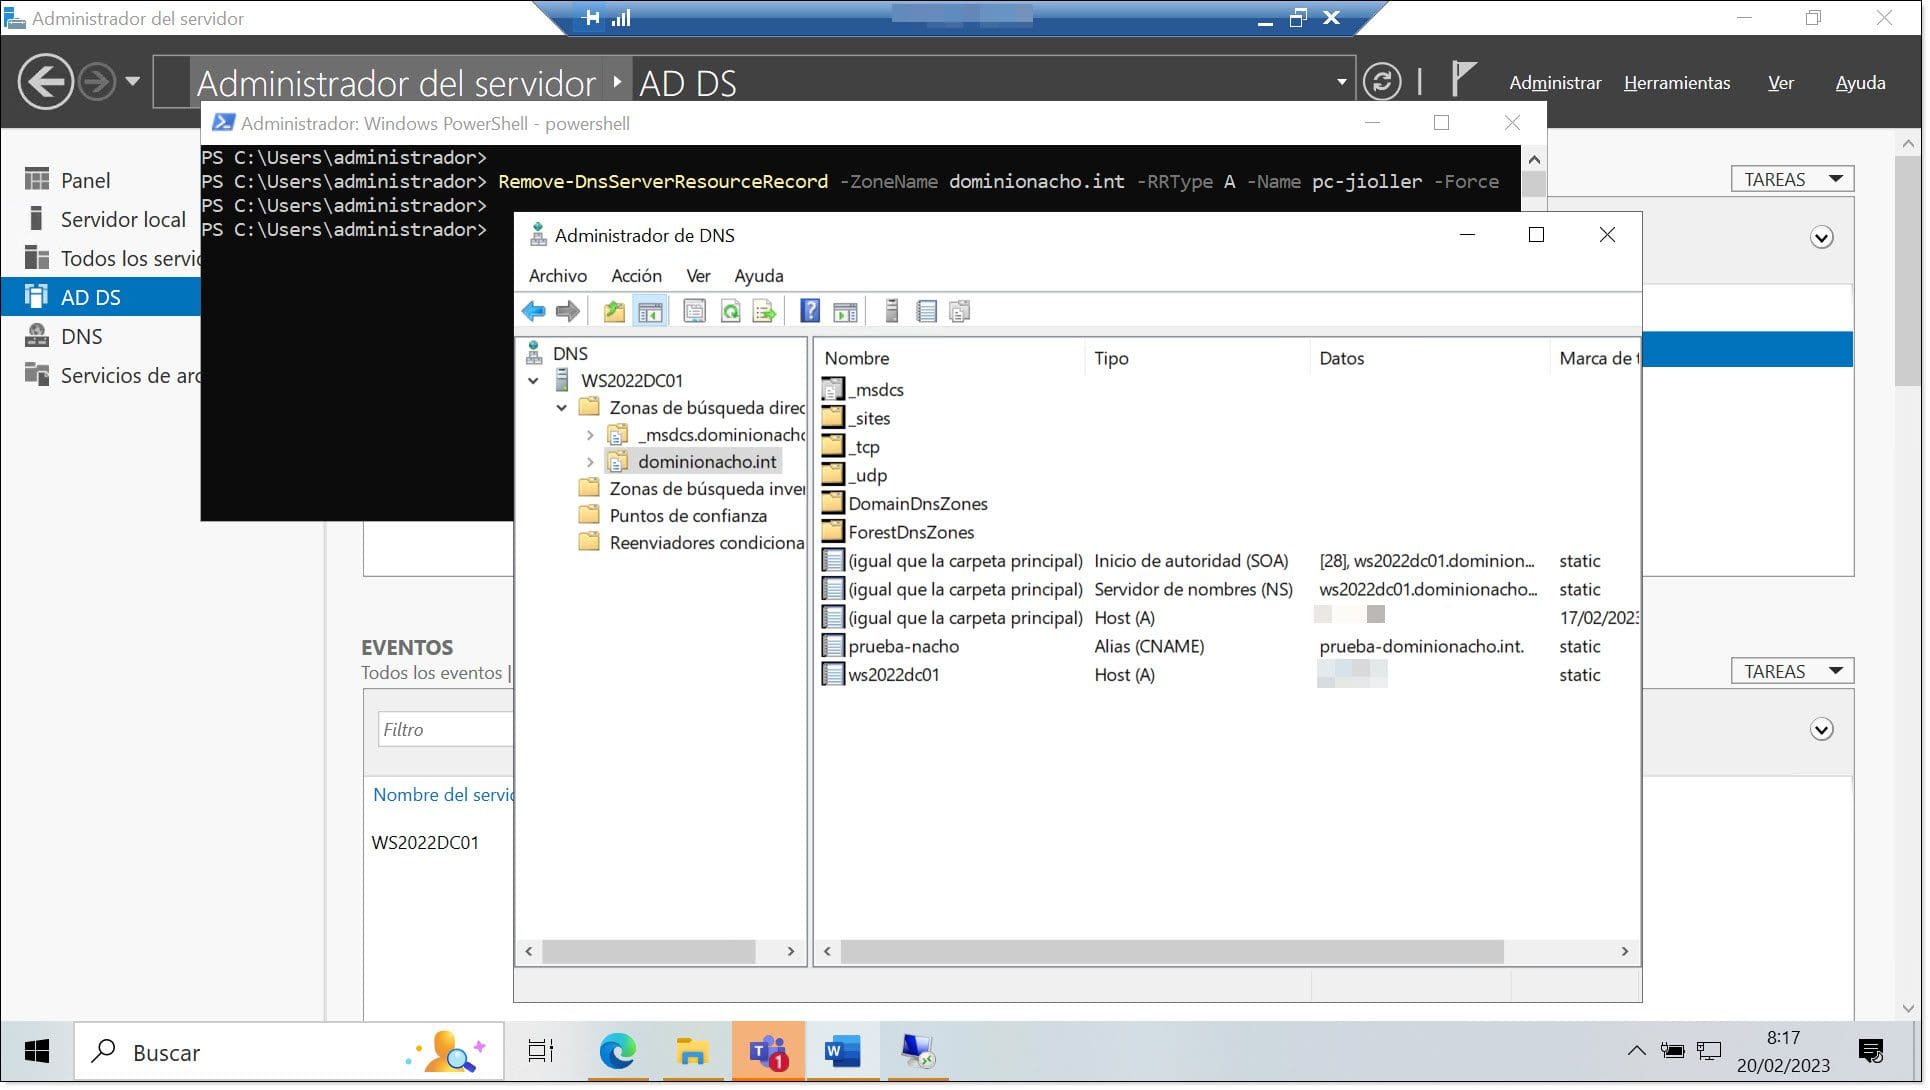
Just as you can add records using PowerShell, you can also remove records from your DNS really easily using the command “Remove-DnsServerResourceRecord”. In fact, it’s almost exactly the same as the command to add a service. You just need to change the verb at the beginning.
Remove-DnsServerResourceRecord -ZoneName <ZONE_NAME> -RRType <RECORD_TYPE> -Name <ENTRY> –Force
Where:
- Remove-DnsServerResourceRecord is the command to remove the record.
- ZoneName <ZONE_NAME> specifies the zone.
- RRType <RECORD_TYPE> specifies the type of record, such as A, AAA, MX, CNAME, etc.
- Name <ENTRY> is the name of the record that needs to be removed.
- Force: Forces the deletion.
As with the previous command, you need to distinguish between the different types of records (A, AAA, MX, etc.).
Here’s an example:
Remove-DnsServerResourceRecord -ZoneName jotelulu.com -RRType A -Name pc-jioller –Force
Summary
By knowing just a few PowerShell commands, you can make managing your DNS server much simpler and more efficient.
Pretty much any basic administration task can be performed using these cmdlets. If you’d like to read more about this topic, take a look at our other article on this blog on deploying a DNS server using PowerShell commands.
And if you’d like to read more about DNS in general, check out this article on what to do when your DNS server doesn’t respond.
Thanks for choosing Jotelulu!
