In today’s tutorial, we’ll show you how to deploy DHCP using PowerShell on Windows Server 2022.
As we’ve explained in previous articles, DHCP stands for Dynamic Host Configuration Protocol and it’s one of the most important services in any network setup.
On any TCP/IP network, devices that connect to the network need to have at least an IP address for the network to function. In the old days, this was done manually by the network administrator. As you can imagine, it was something of a headache even when the network was relatively small, but for larger networks, the workload could soon get out of hand as every device needed to know:
- Their IP address.
- The network mask.
- The gateway address.
- The DNS servers.
- And other important details.
The DHCP service basically makes things easier by issuing this information and updating it automatically.
In this tutorial, we’re going to look at how to configure DHCP on Windows Server using PowerShell.
How to Deploy DHCP Using PowerShell
Before you get started…
To successfully complete this tutorial, you will need the following:
- To have registered with an organisation on the Jotelulu platform and to have logged in.
- A Servers subscription on the platform.
Network IP Address Planning
Before we deploy DHCP, it’s important to take some time to plan your network. This includes thinking about the following:
- IP address rage.
- Network mask.
- Gateway address.
- DNS servers.
- And other details like WINS servers, etc.
Once you’ve done that, we can get going.
Part 1 – Server Preparation (Optional)
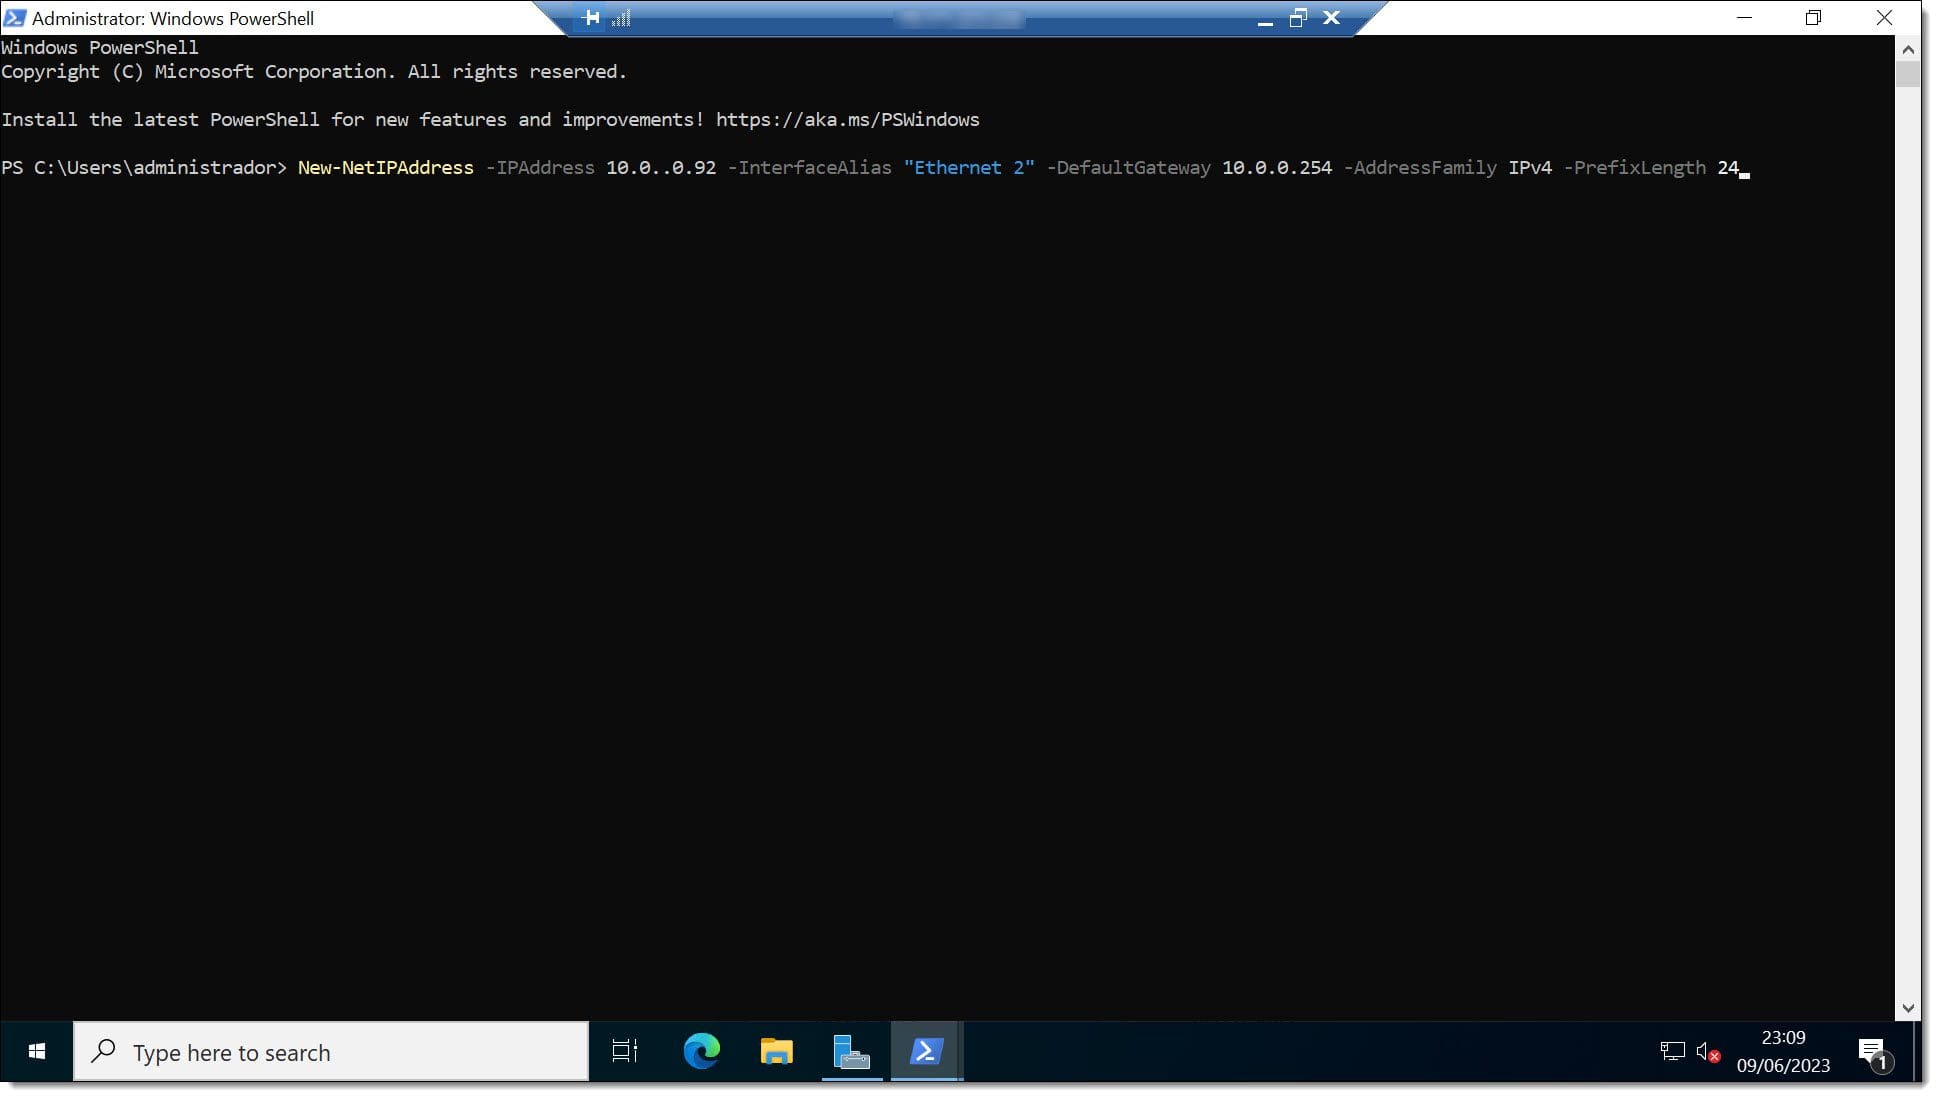
For your server to provide the DHCP service correctly, it needs to have a fixed or ‘static’ IP address so that client devices know where to send requests. To do this, run the following command:
# New-NetIPAddress -IPAddress <IP_Address> -InterfaceAlias “<Interface_Name>” -DefaultGateway <Gateway_Address> -AddressFamily <IP_Type> -PrefixLength <No_of_Bits>
Where…
- <IP_Address> is the server’s IP address in the format “X.X.X.X”.
- <Interface_Name> is the name given to the interface.
- <Gateway_Address> specifies the gateway address in the format “X.X.X.X”.
- <IP_Type> specifies whether you’re using IPv4 or IPv6. For this tutorial, we’re using IPv4.
- <No_of_Bits> is the number of bits that make up the network mask, for example, 24 for 255.255.255.0.
Here’s an example of what this command would look like:
# New-NetIPAddress -IPAddress 192.168.1.15 -InterfaceAlias “Ethernet” -DefaultGateway 192.168.1.1 -AddressFamily IPv4 -PrefixLength 24
Once you have done this, give your server a descriptive name using the following command:
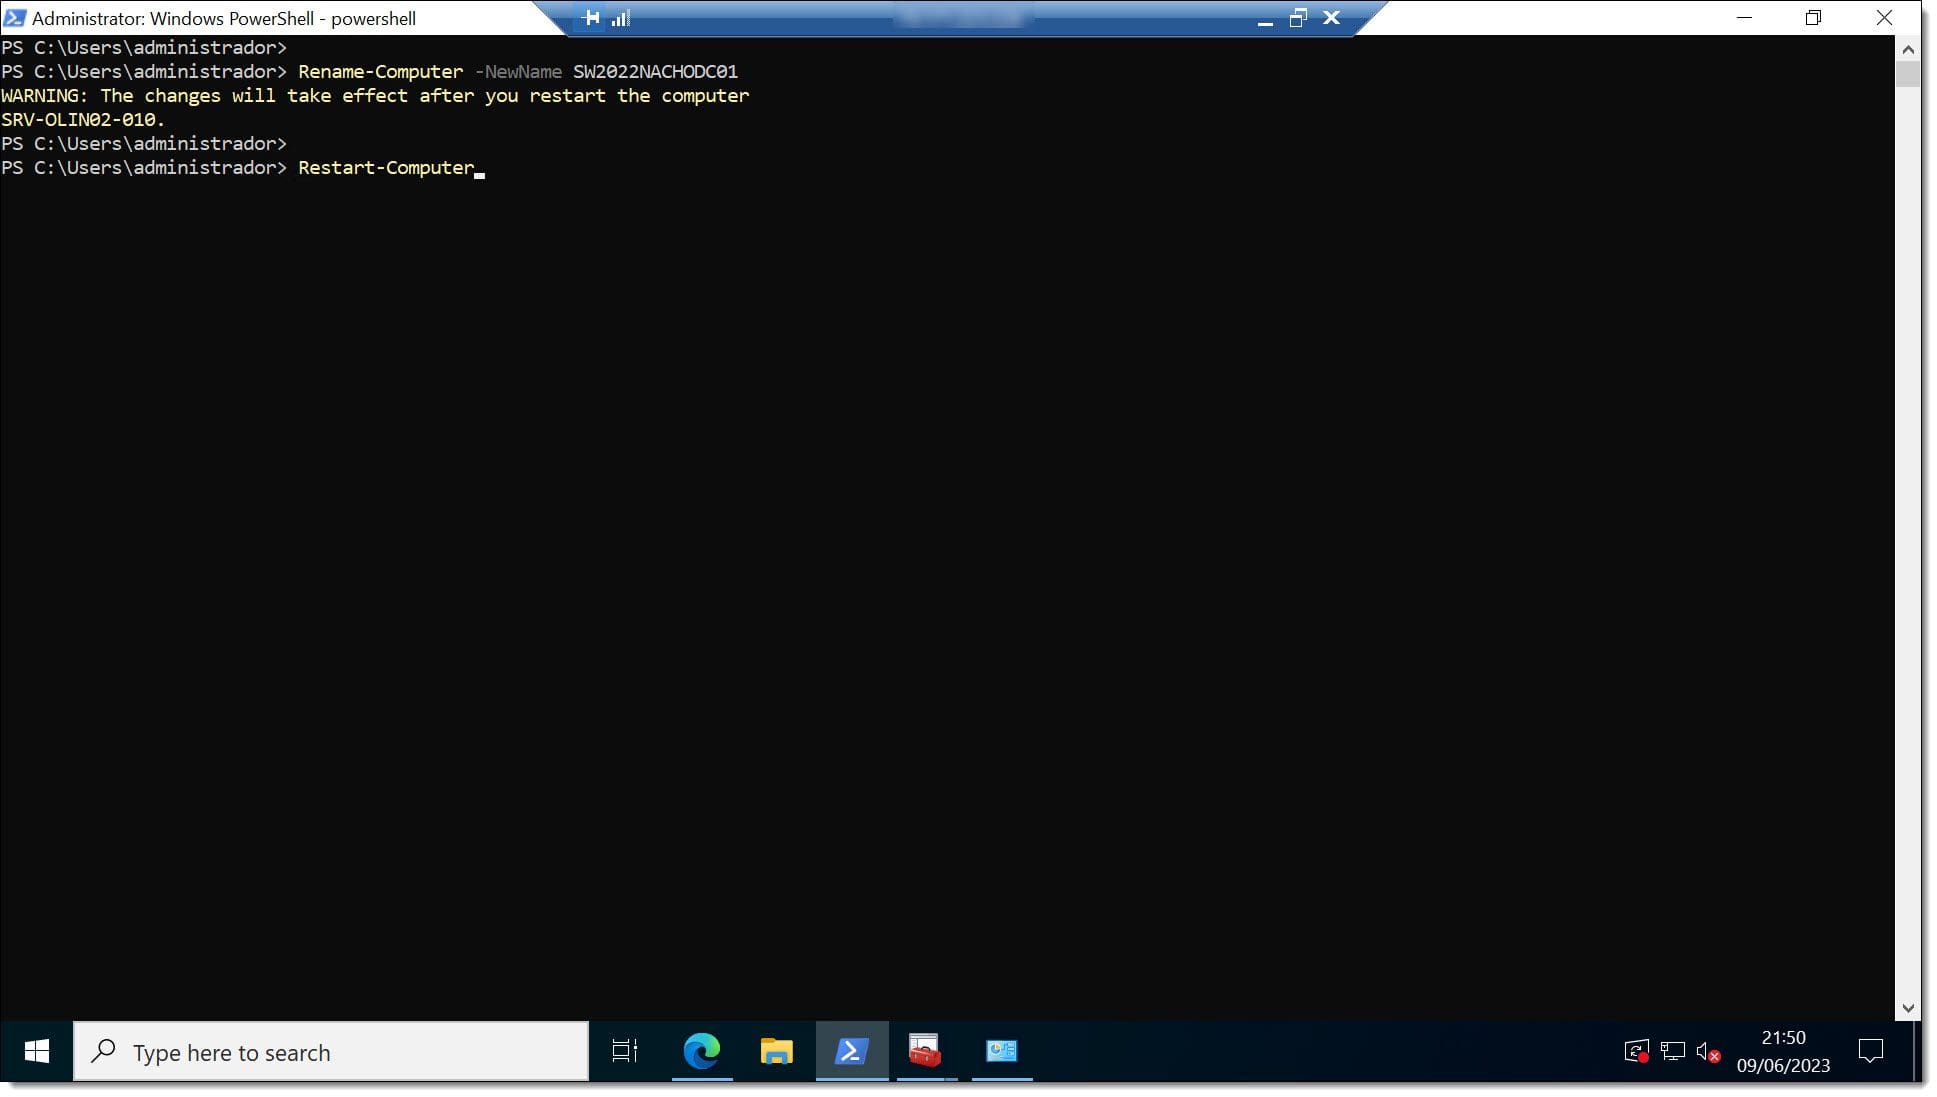
# Rename-Computer -NewName SW22DHCPSERVER01
At this point, you’ll need to restart the server for the changes to be applied.
# Restart-Computer
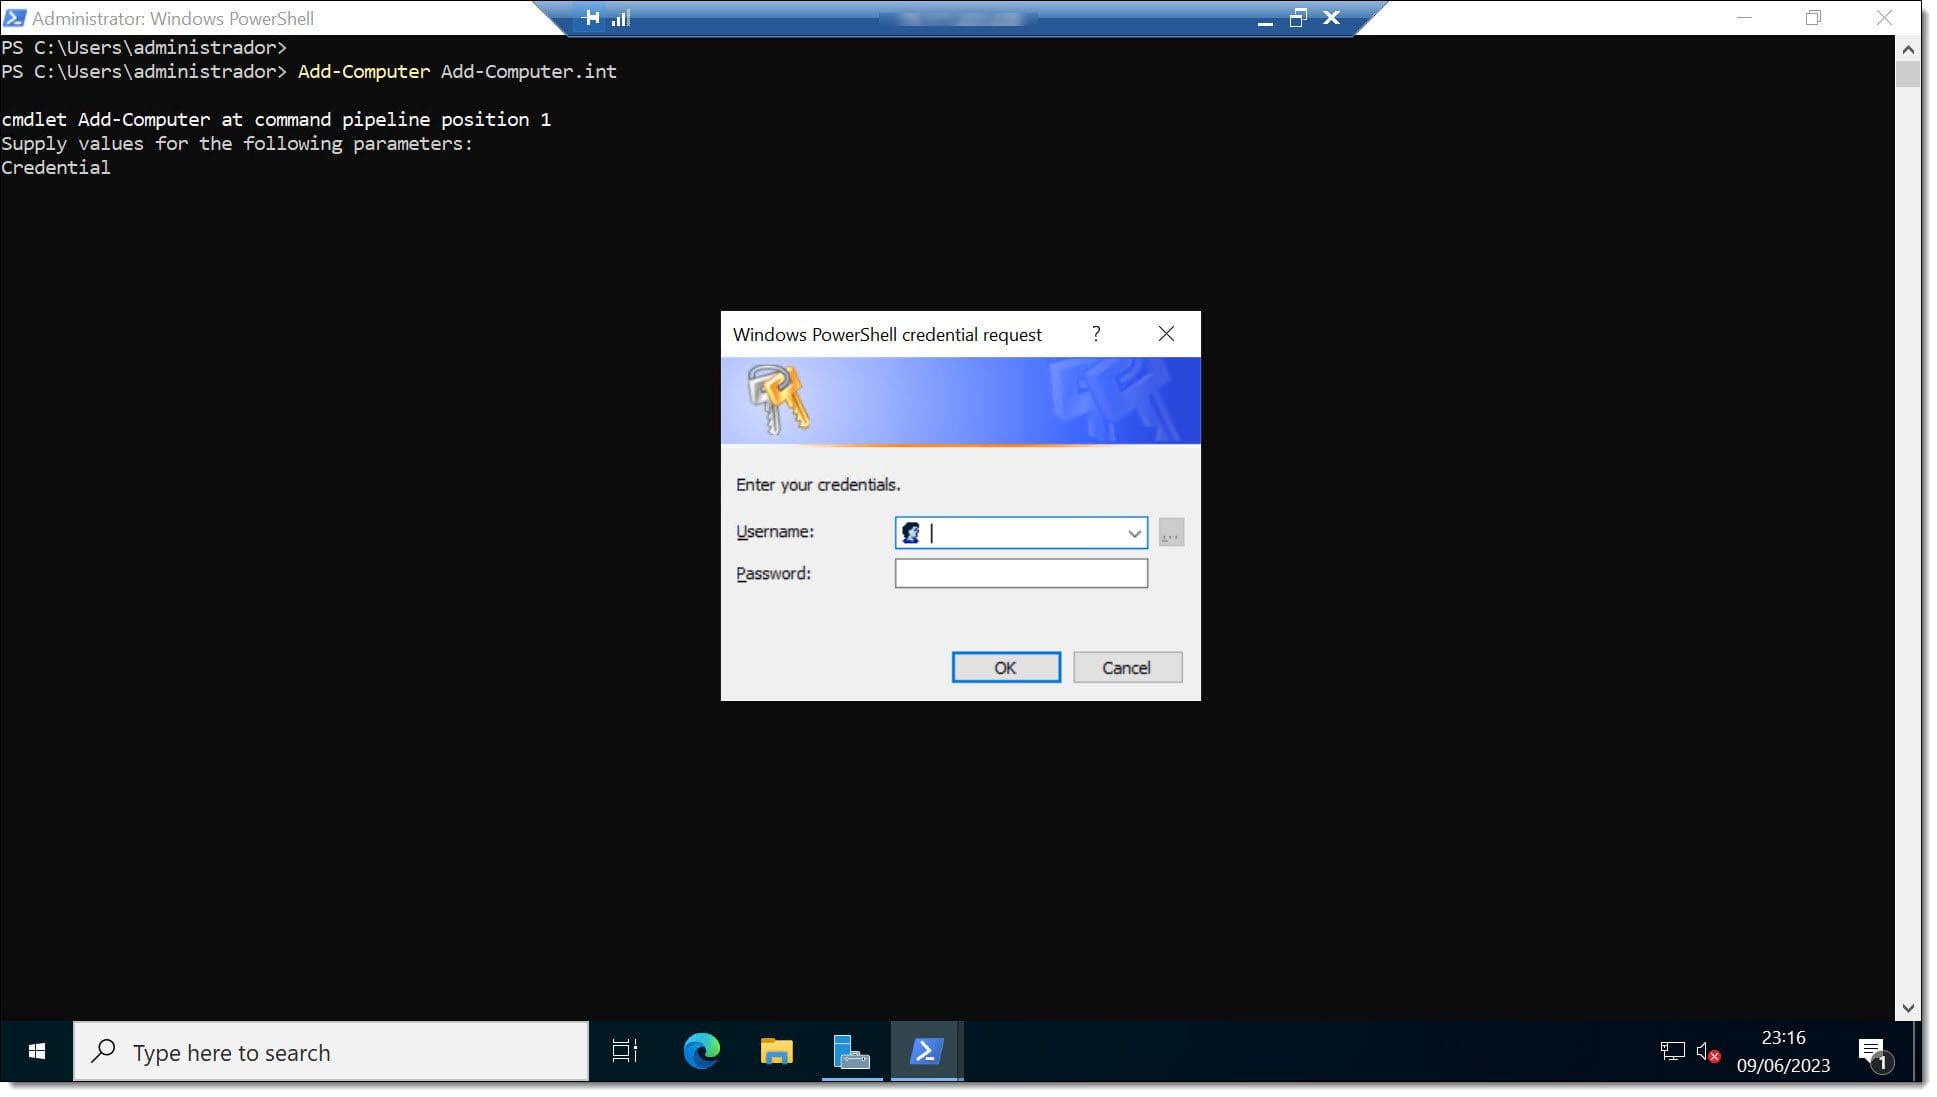
If you’re using AD DS (Active Directory Domain Services), you’ll now need to add the server to the domain.
# Add-Computer <Domain>
Where…
- <Domain> is the domain that you want to add the server to.
For example:
# Add-Computer jotelulu.com
Restart the server once again to apply your changes.
# Restart-Computer
Part 2 – Installing and Configuring DHCP
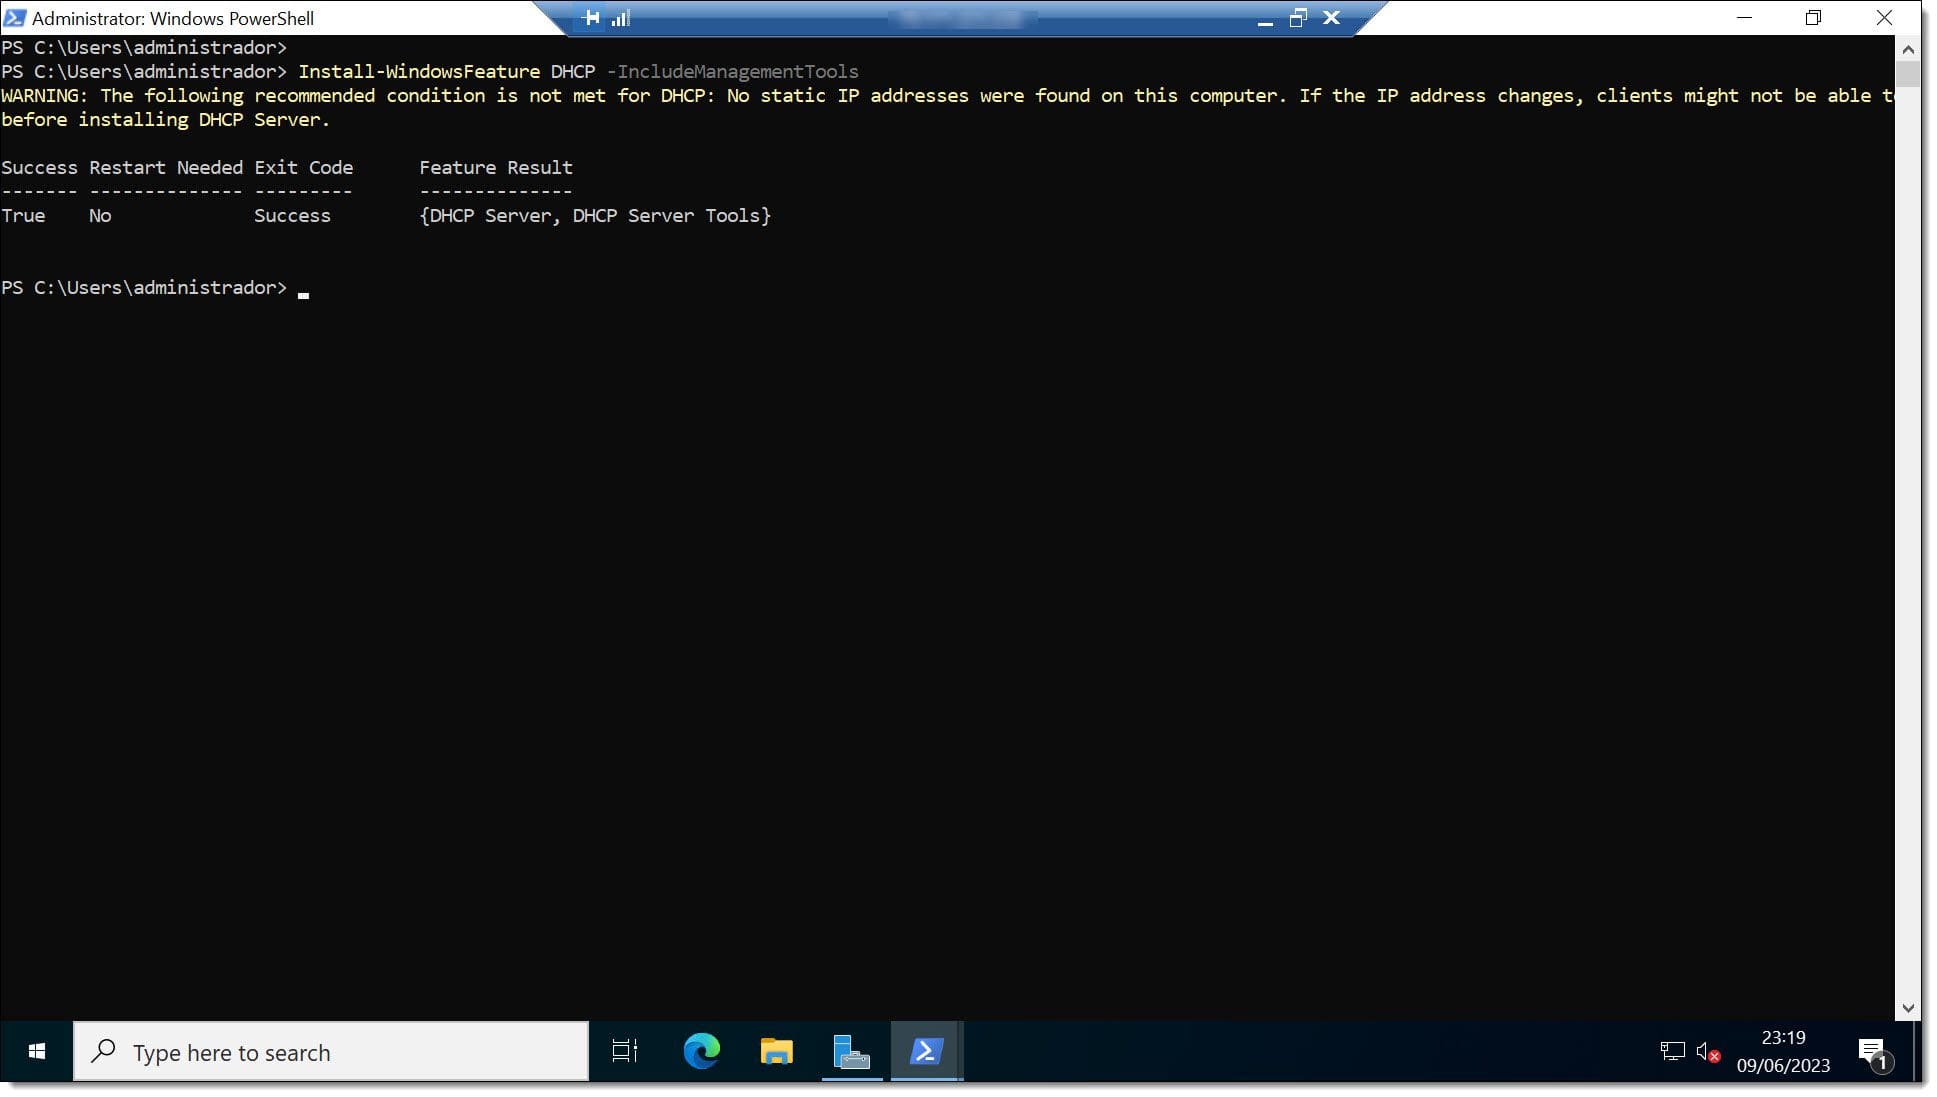
The next step is to install DHCP, which you can do using the “Install-WindowsFeature” command as follows:
# Install-WindowsFeature DHCP -IncludeManagementTools
Where “IncludeManagementTools” adds the additional management tools for the DHCP service.
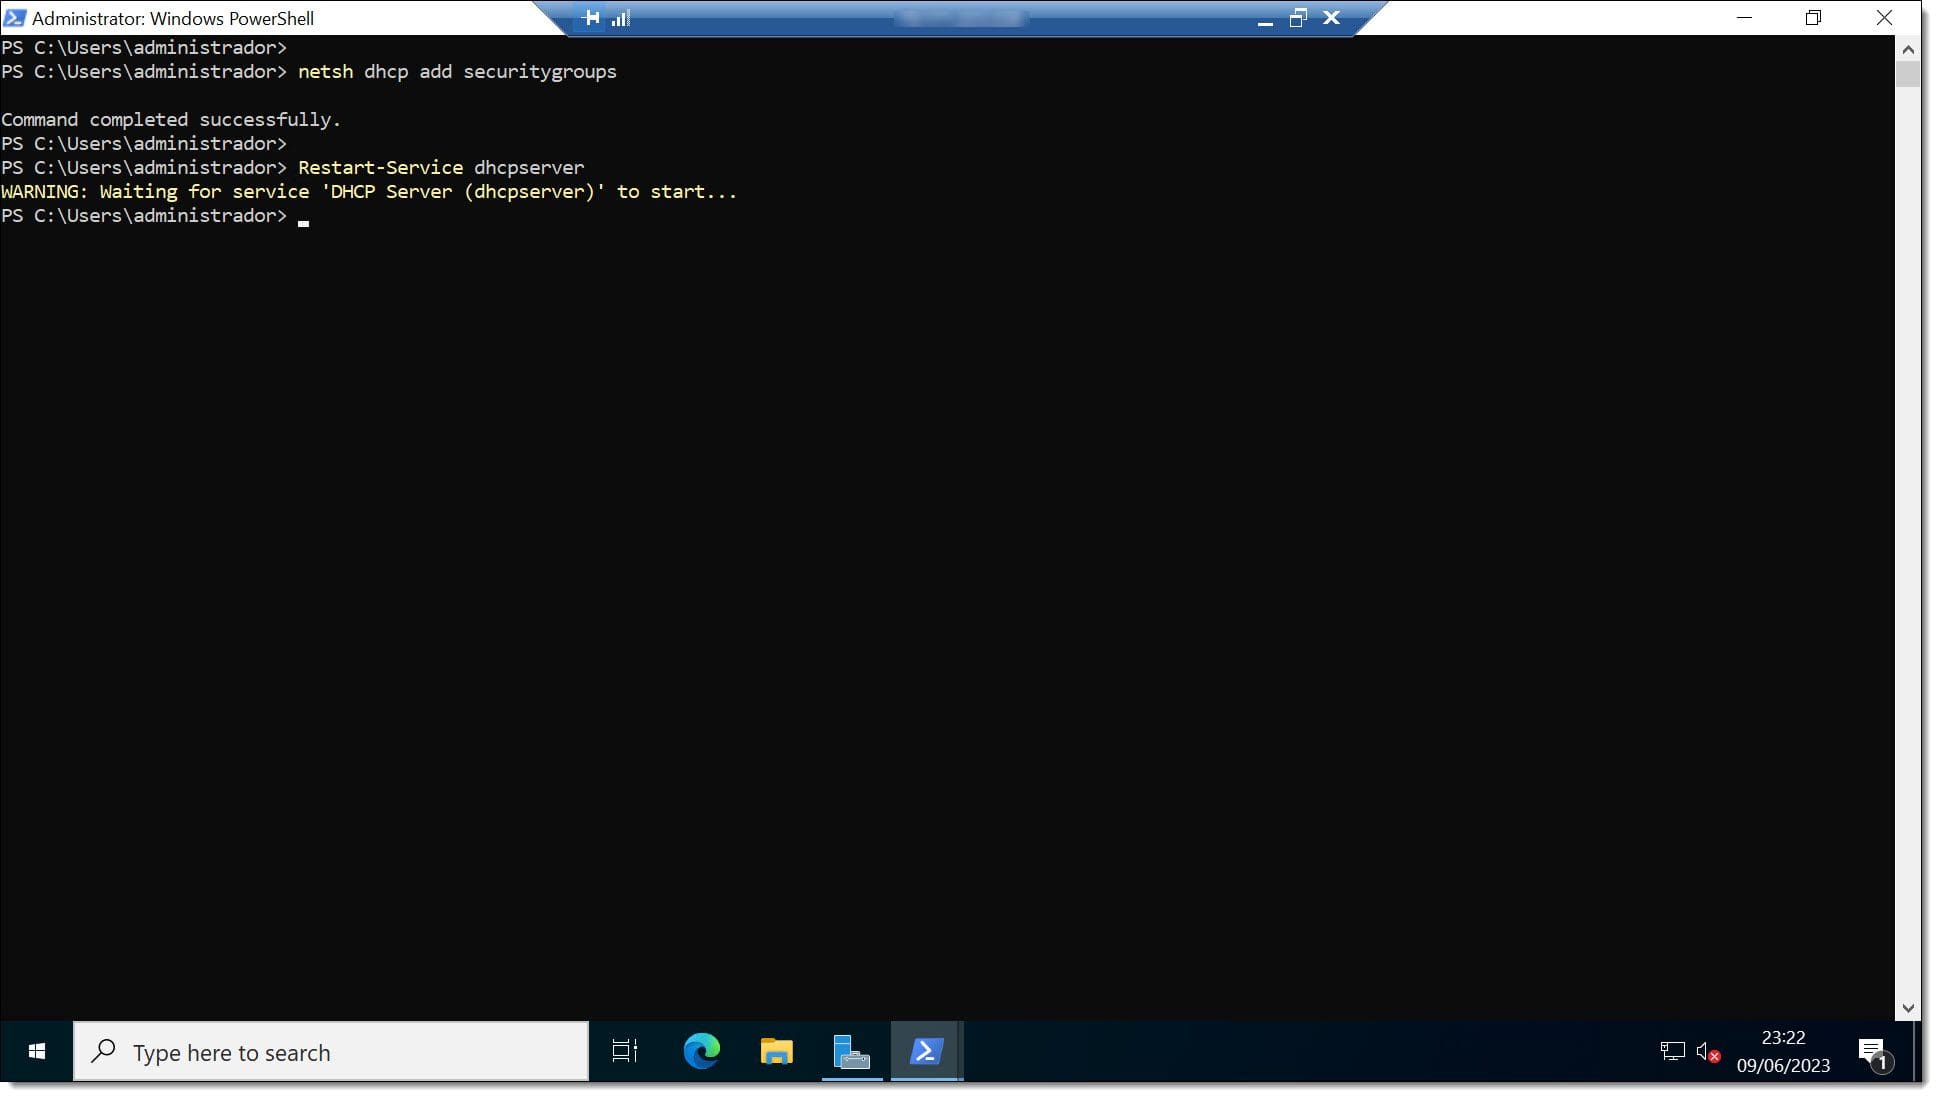
Next, you need to create local security groups by running the “netsh” (Network Shell) command, which will create the security groups DHCP Administrator and DHCP Users on the server.
# netsh dhcp add securitygroups
Then, restart the service using the “Restart-Service” command.
# Restart-Service dhcpserver
Part 3 – Authorising the DHCP Server on AD DS (Optional)
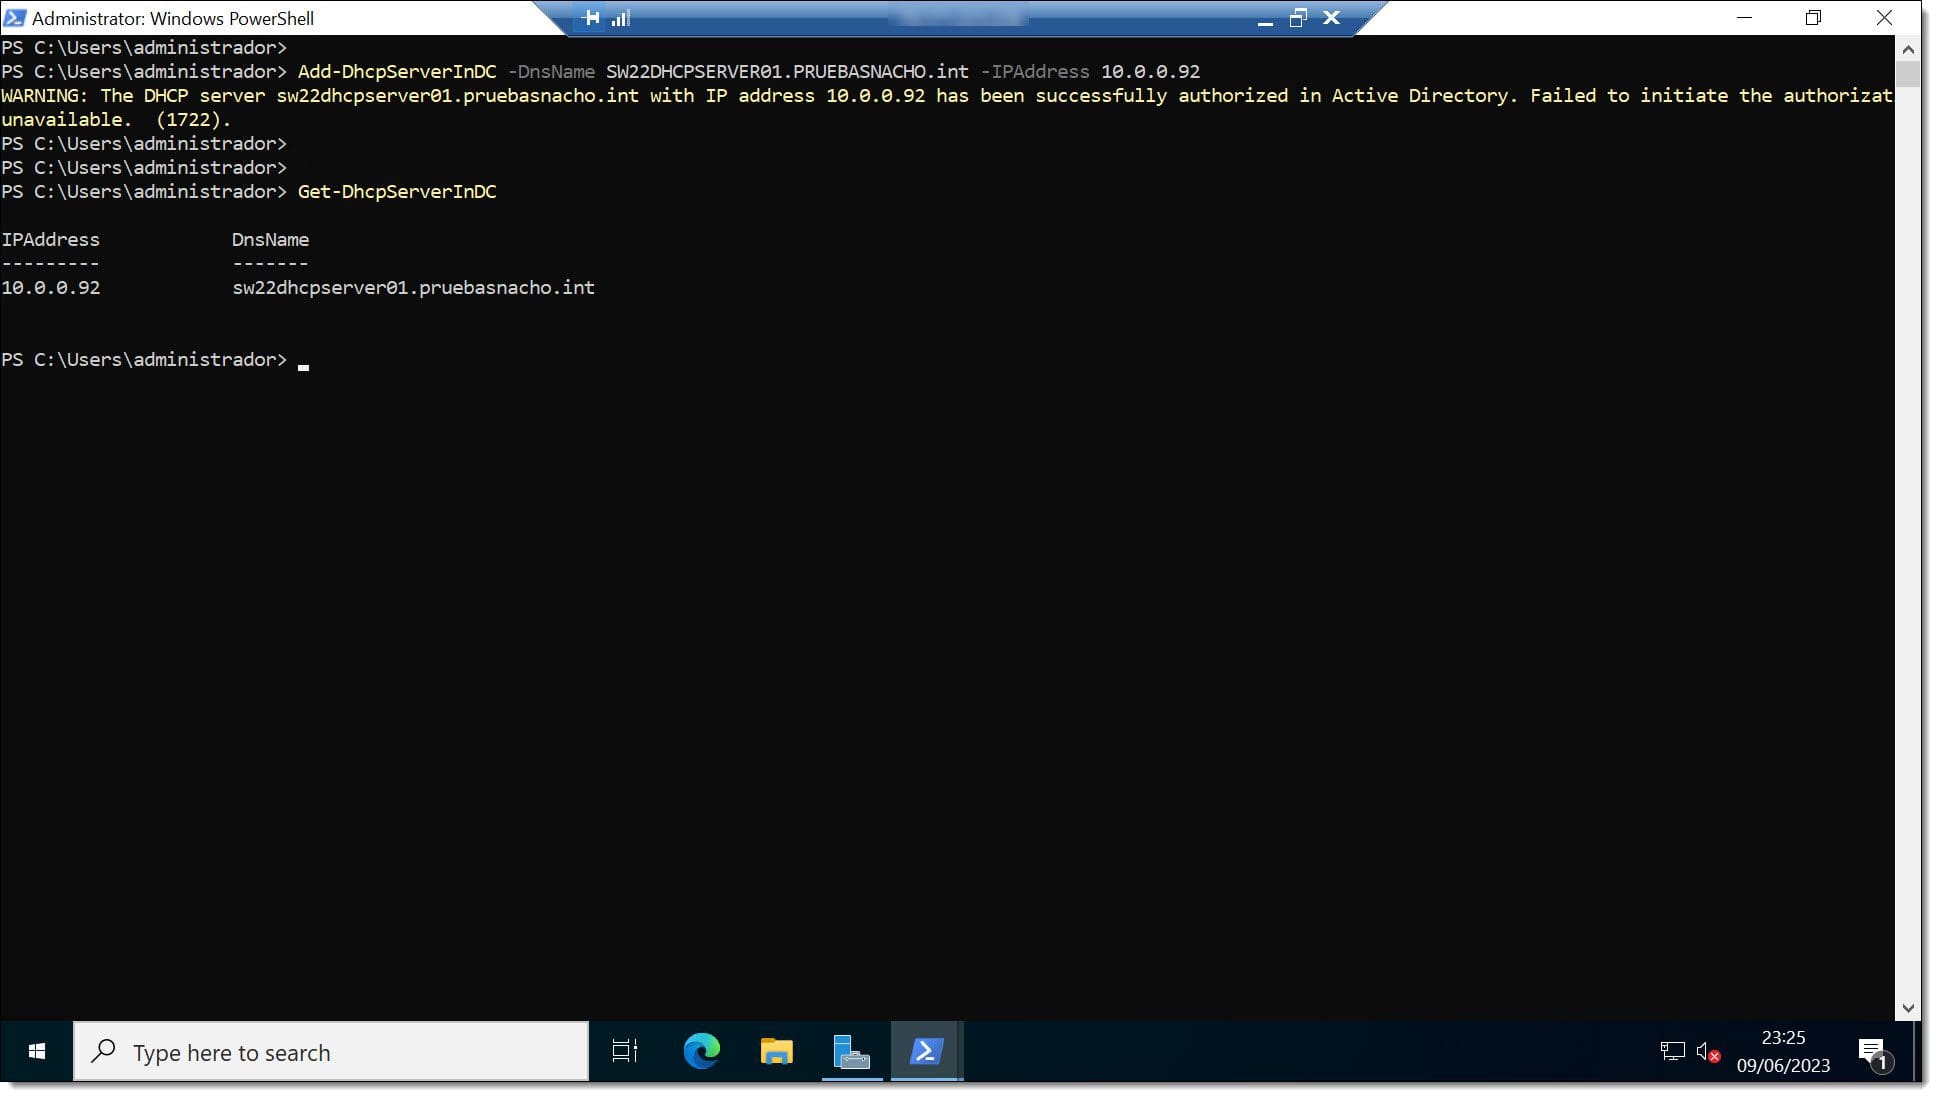
If your DHCP server is part of an Active Directory domain, it will need to be authorised in order to provide IP addresses (and other settings) to DHCP clients.
# Add-DhcpServerInDC -DnsName <DHCP_Server_FQDN> -IPAddress <IP_Address>
Where…
- <DHCP_Server_FQDN> is the fully qualified domain name for the server.
- <IP_Address>is the server’s IP address in the format “X.X.X.X”.
For example:
# Add-DhcpServerInDC -DnsName SW22DHCPSERVER01.jotelulu.com -IPAddress 192.168.1.15
Next, run the “Get-DhcpServerInDC” command to check whether the DHCP server is authorised in AD DS.
# Get-DhcpServerInDC
Part 4- Configuring Your First DHCP Scope
Now that you’ve installed DHCP, you might be forgiven for thinking that you’re all finished. Unfortunately not. At the moment, your DHCP server is pretty useless.
To start using it, you need to create a DHCP scope so that the server can provide configuration details to clients that use the service.
To do this, run the following commands:
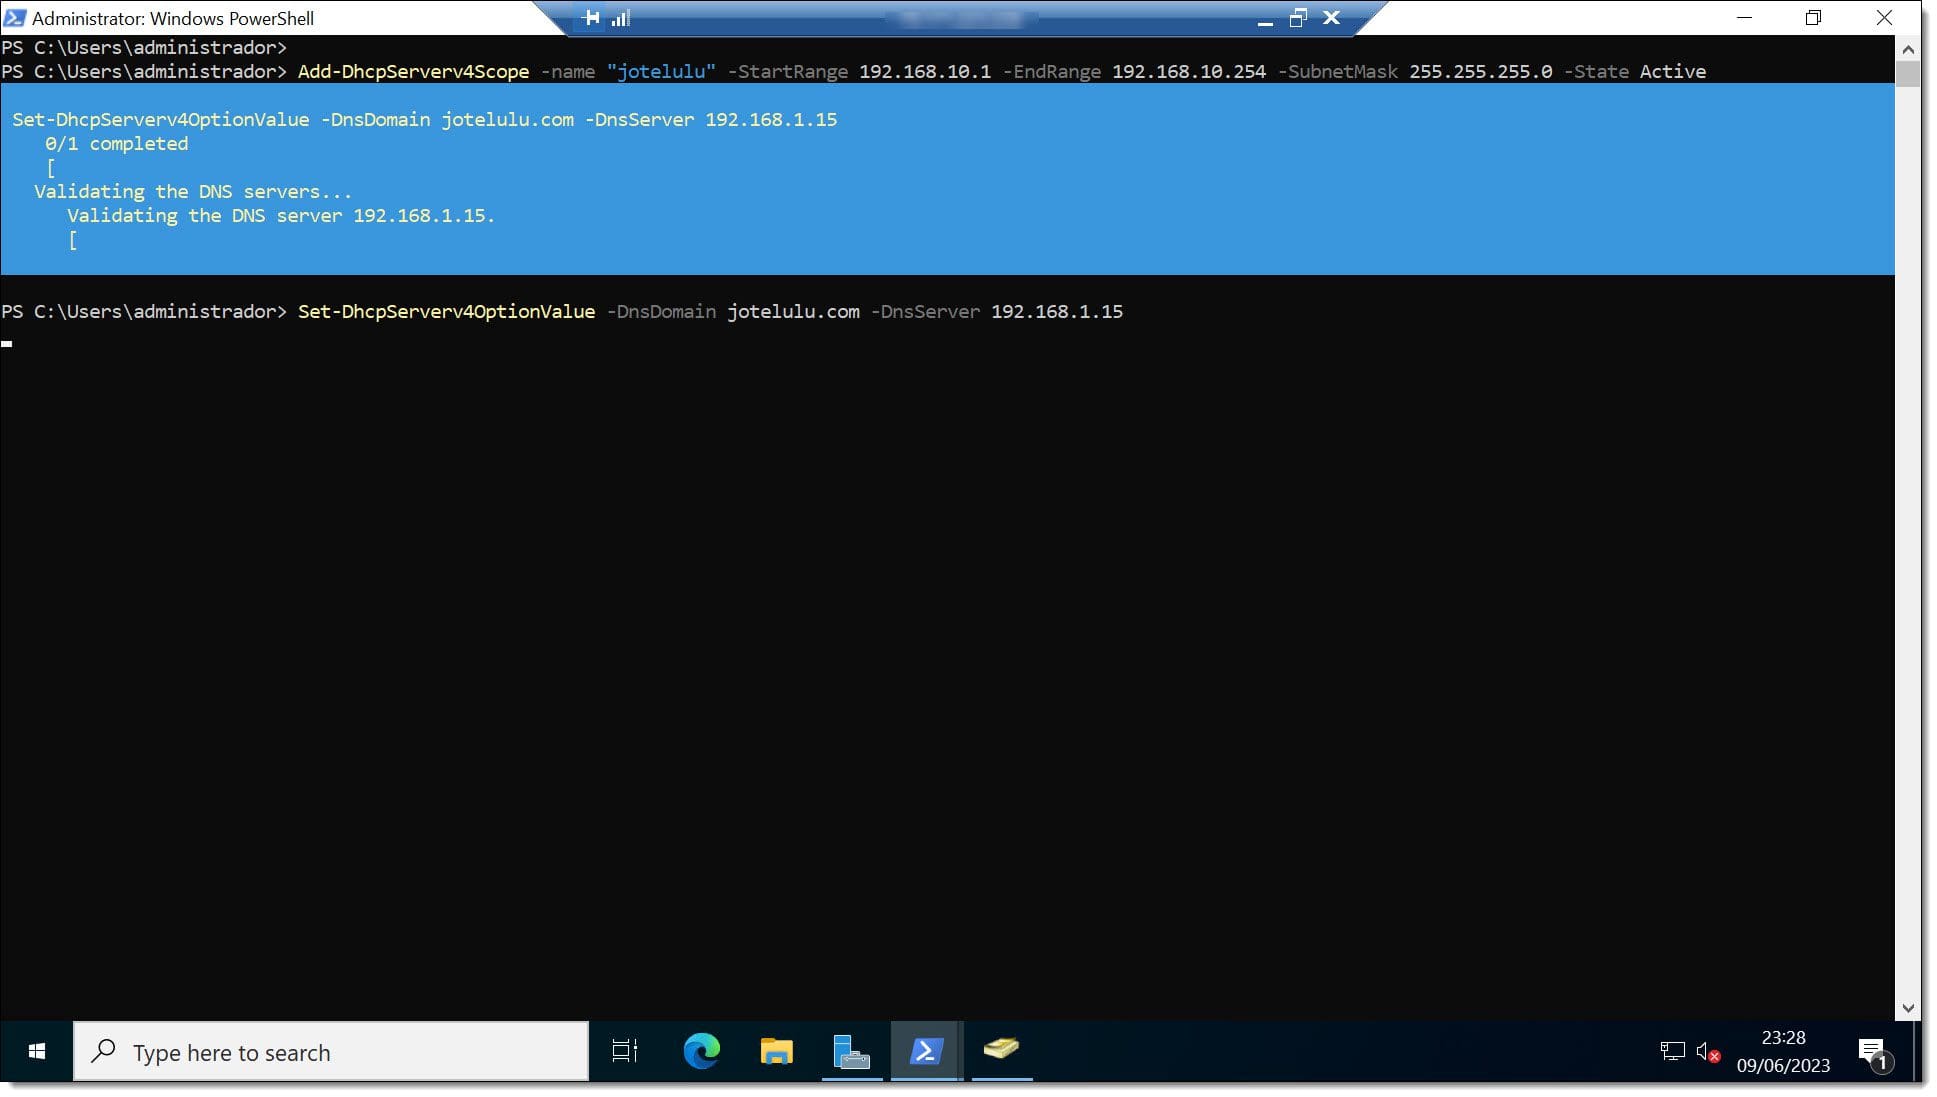
# Add-DhcpServerv4Scope -name “<Scope_Name>” -StartRange <Start_Range> -EndRange <End_Range> -SubnetMask <SubnetMask> -State Active
# Add-DhcpServerv4ExclusionRange -ScopeID <Scope_ID> -StartRange <Start_Range> -EndRange <End_Range>
# Set-DhcpServerv4OptionValue -OptionID 3 -Value <IP_Value> -ScopeID <Scope_ID> -ComputerName <DHCP_Server_FQDP>
# Set-DhcpServerv4OptionValue -DnsDomain <Domain> -DnsServer <DNS_IP>
So, for example, in this tutorial, these commands might look like this:
# Add-DhcpServerv4Scope -name “jotelulu” -StartRange 192.168.10.1 -EndRange 192.168.10.254 -SubnetMask 255.255.255.0 -State Active
# Add-DhcpServerv4ExclusionRange -ScopeID 192.168.10.0 -StartRange 192.168.10.200 -EndRange 192.168.10.220
# Set-DhcpServerv4OptionValue -OptionID 3 -Value 192.168.10.1 -ScopeID 192.168.10.0 -ComputerName SW22DHCPSERVER01.jotelulu.com
# Set-DhcpServerv4OptionValue -DnsDomain jotelulu.com -DnsServer 192.168.1.15
You’ve now pretty much deployed your DHCP. But I say “pretty much” because, in reality, you will need to deploy all the scopes that you require for your network. So, really, this is just the beginning.
Summary
As you can see, deploying DHCP using PowerShell is really easy, and even though we’ve focused on Windows Server 2022, the same process is valid for 2016 and 2019.
Working with PowerShell can often save a lot of time, but if you’d prefer to use the graphic interface, check out this article: How to Install DHCP Server on Windows Server.
We hope that you find this tutorial useful, but if you have any problems, don’t hesitate to contact us so that we can help you.
Thank you for choosing Jotelulu!


